21 Ways to Say Hello World in Siv3D
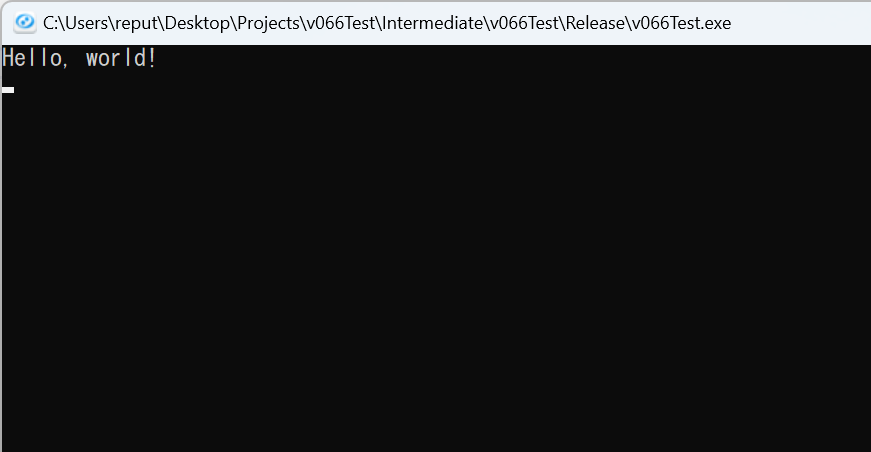
1. Print
- Use the debug output feature
Print to display on screen

# include <Siv3D.hpp>

void Main()
{
	Print << U"Hello, world!";

	while (System::Update())
	{

	}
}
2. Console
- Use the console output feature
Console
# include <Siv3D.hpp>

void Main()
{
	Console << U"Hello, world!";

	while (System::Update())
	{

	}
}
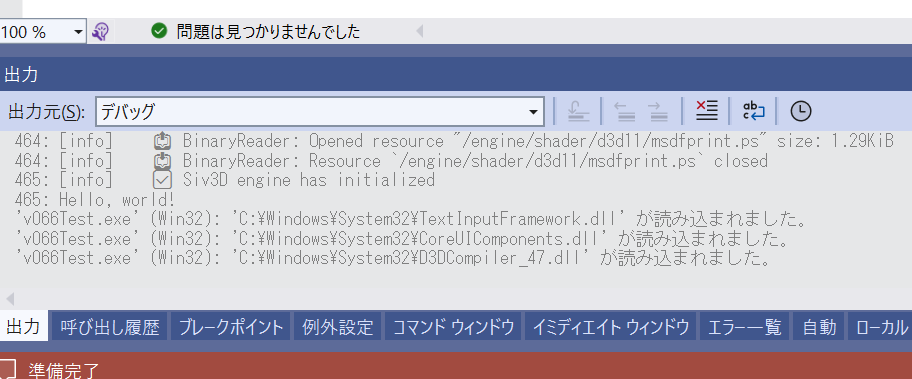
3. Logger
- Use the log output feature
Logger
- In Visual Studio, output appears in the "Output" window when debugging
# include <Siv3D.hpp>

void Main()
{
	Logger << U"Hello, world!";

	while (System::Update())
	{

	}
}
4. Say
- Use the text-to-speech feature
Say
- The language of the speaker can be changed with
TextToSpeech::SetDefaultLanguage()
- Specific languages may not be installed by default depending on OS settings
- Does not work on Linux
# include <Siv3D.hpp>

void Main()
{
	//TextToSpeech::SetDefaultLanguage(LanguageCode::EnglishUS);

	Say << U"Hello, world!";

	while (System::Update())
	{

	}
}
5. PutText
- Use debug display
PutText that allows coordinate specification

# include <Siv3D.hpp>

void Main()
{
	while (System::Update())
	{
		PutText(U"Hello, world!", Scene::Center());
	}
}
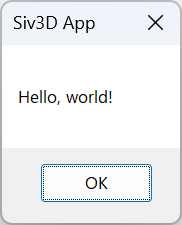
6. Message Box
- Display a message box using
System::MessageBoxOK()
# include <Siv3D.hpp>

void Main()
{
	System::MessageBoxOK(U"Hello, world!");

	while (System::Update())
	{

	}
}
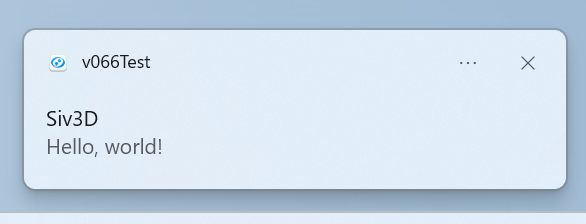
7. Toast Notification
- Display a message with toast notification
- This feature is only available on Windows
# include <Siv3D.hpp>

void Main()
{
	ToastNotificationItem item{ .title = U"Siv3D", .message = U"Hello, world!"};

	Platform::Windows::ToastNotification::Show(item);

	while (System::Update())
	{

	}
}
8. Window Title
- Display the specified string in the window title
# include <Siv3D.hpp>

void Main()
{
	Window::SetTitle(U"Hello, world!");

	while (System::Update())
	{

	}
}
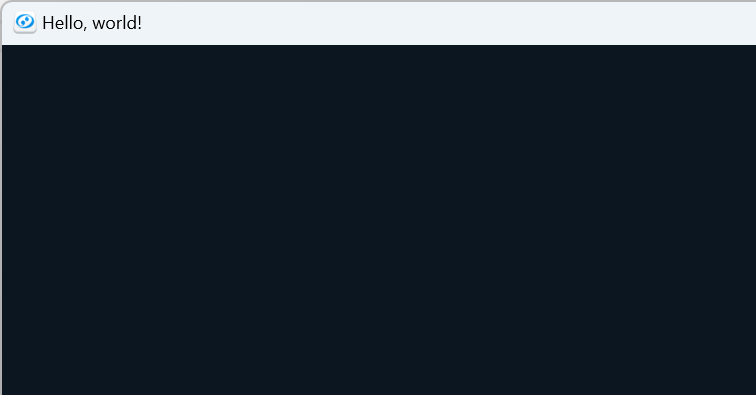
- Display a button using
SimpleGUI::Button()

# include <Siv3D.hpp>

void Main()
{
	Scene::SetBackground(ColorF{ 0.6, 0.8, 0.7 });

	while (System::Update())
	{
		if (SimpleGUI::Button(U"Hello, world!", Vec2{ 20, 20 }))
		{
			System::Exit();
		}
	}
}
10. Font
- Creating a
Font with FontMethod::MSDF setting allows you to draw text with specified size, position, and color

# include <Siv3D.hpp>

void Main()
{
	Scene::SetBackground(ColorF{ 0.6, 0.8, 0.7 });

	const Font font{ FontMethod::MSDF, 48, Typeface::Bold };

	while (System::Update())
	{
		font(U"Hello, world!").drawAt(100, Scene::Center(), ColorF{ 0.1, 0.4, 0.7 });
	}
}
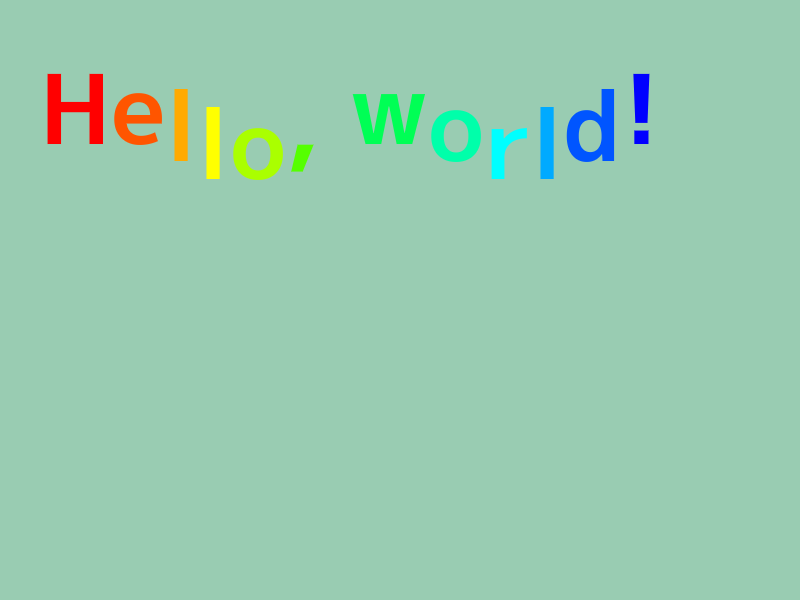
11. Glyph
- Using
Glyph for each character obtained with Font::getGlyphs() allows you to control color and position per character
# include <Siv3D.hpp>

void Main()
{
	Scene::SetBackground(ColorF{ 0.6, 0.8, 0.7 });

	const Font font{ FontMethod::MSDF, 48, Typeface::Bold };

	const double scale = 2.0;

	while (System::Update())
	{
		Vec2 penPos{ 40, 40 };

		{
			const ScopedCustomShader2D shader{ Font::GetPixelShader(font.method(), TextStyle::Type::Default) };

			Graphics2D::SetMSDFParameters(TextStyle::Default());

			int32 i = 0;

			for (const auto& glyph : font.getGlyphs(U"Hello, world!"))
			{
				const ColorF color = HSV{ i * 20 };

				glyph.texture.scaled(scale).draw(Math::Round(penPos + glyph.getOffset() * scale), color);

				penPos.x += (glyph.xAdvance * scale);

				penPos.y += Math::Sin(i * 60_deg) * 20;

				++i;
			}
		}
	}
}
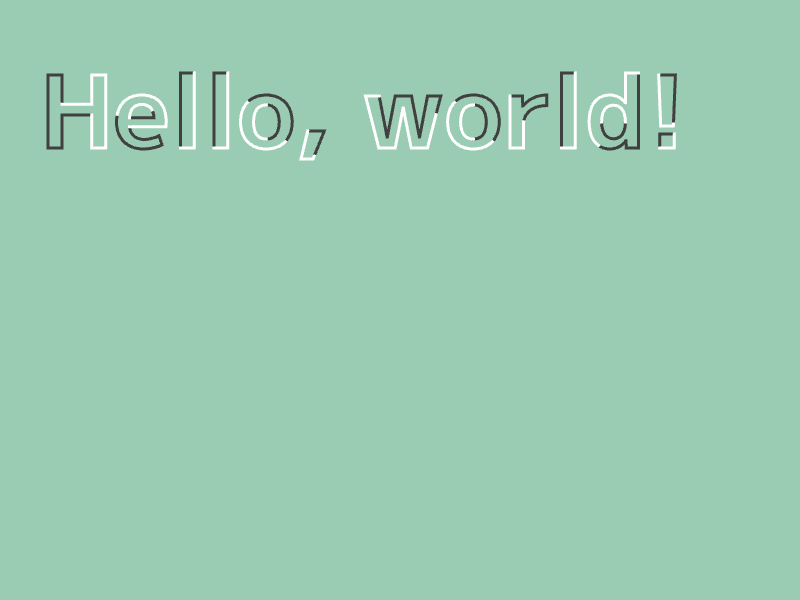
12. OutlineGlyph
OutlineGlyph for each character obtained with Font::renderOutlines() can treat each character's outline as a LineString
# include <Siv3D.hpp>

void Main()
{
	Scene::SetBackground(ColorF{ 0.6, 0.8, 0.7 });

	const Font font{ 100, Typeface::Bold };

	const Array<OutlineGlyph> glyphs = font.renderOutlines(U"Hello, world!");

	while (System::Update())
	{
		Vec2 penPos{ 40, 40 };

		for (const auto& glyph : glyphs)
		{
			const Transformer2D transform{ Mat3x2::Translate(penPos + glyph.getOffset()) };

			for (const auto& ring : glyph.rings)
			{
				const double halfLength = ring.calculateLength(CloseRing::Yes) * 0.5;

				ring.extractLineString(0.0, halfLength, CloseRing::Yes).draw(3, ColorF{ 0.25 });

				ring.extractLineString(halfLength, halfLength, CloseRing::Yes).draw(3, ColorF{ 1.0 });
			}

			penPos.x += glyph.xAdvance;
		}
	}
}
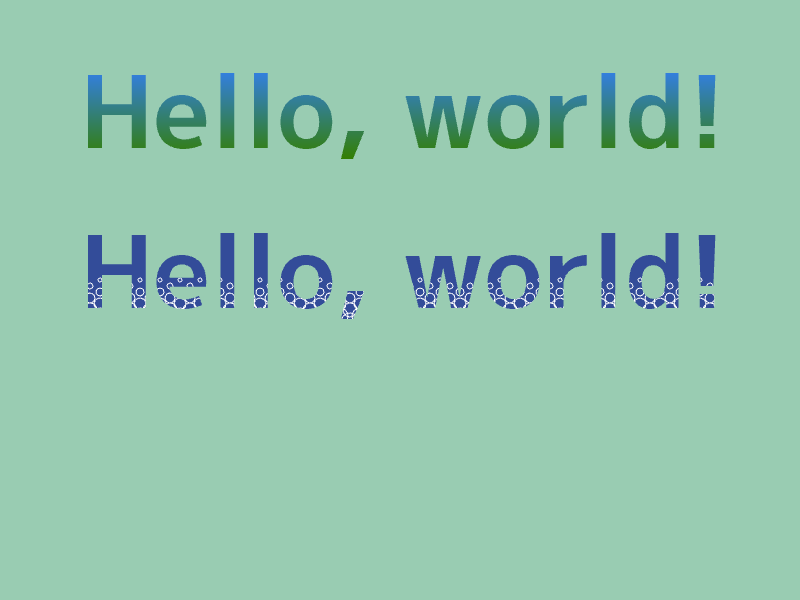
13. Buffer2D
- Converting
PolygonGlyph for each character obtained with Font::renderPolygons() to Buffer2D allows you to draw characters with textures applied
# include <Siv3D.hpp>

// Create background texture 1
Texture CreateTexture1()
{
	RenderTexture renderTexture{ Size{ 1, 128 } };
	{
		const ScopedRenderTarget2D renderTarget{ renderTexture };

		Rect{ 0, 0, 1, 128 }.draw(Arg::top(0.2, 0.5, 1.0), Arg::bottom(0.2, 0.5, 0.0));
	}

	Graphics2D::Flush();

	return renderTexture;
}

// Create background texture 2
Texture CreateTexture2()
{
	MSRenderTexture renderTexture{ Size{ 800, 100 }, ColorF{ 0.2, 0.3, 0.6 } };
	{
		const ScopedRenderTarget2D renderTarget{ renderTexture };

		const ColorF PatternColor{ 1.0 };

		for (int32 y = 0; y < 8; ++y)
		{
			for (int32 x = 0; x <= 40; ++x)
			{
				if (IsEven(y))
				{
					Circle{ (x * 20), (60 + y * 6), (2 + y) }.drawFrame(1, PatternColor);
				}
				else
				{
					Circle{ (10 + x * 20), (60 + y * 6), (2 + y) }.drawFrame(1, PatternColor);
				}
			}
		}
	}

	// MSRenderTexture completion requires
	// issuing 2D draw commands (Flush) + resolving MSAA (Resolve)
	Graphics2D::Flush();
	renderTexture.resolve();

	// Return completed texture
	return renderTexture;
}

void Main()
{
	Scene::SetBackground(ColorF{ 0.6, 0.8, 0.7 });

	const Font font{ 100, Typeface::Bold };

	const Texture texture1 = CreateTexture1();

	const Texture texture2 = CreateTexture2();

	Array<Buffer2D> polygons;
	{
		Vec2 penPos{ 0, 0 };

		for (const auto& glyph : font.renderPolygons(U"Hello, world!"))
		{
			for (const auto& polygon : glyph.polygons)
			{
				polygons << polygon.movedBy(penPos + glyph.getOffset()).toBuffer2D(Vec2{ 0, 20 }, Vec2{ 800, 100 });
			}

			penPos.x += glyph.xAdvance;
		}
	}

	while (System::Update())
	{
		{
			const Transformer2D transform{ Mat3x2::Translate(80, 40) };

			for (const auto& polygon : polygons)
			{
				polygon.draw(texture1);
			}
		}

		{
			const Transformer2D transform{ Mat3x2::Translate(80, 200) };

			for (const auto& polygon : polygons)
			{
				polygon.draw(texture2);
			}
		}
	}
}
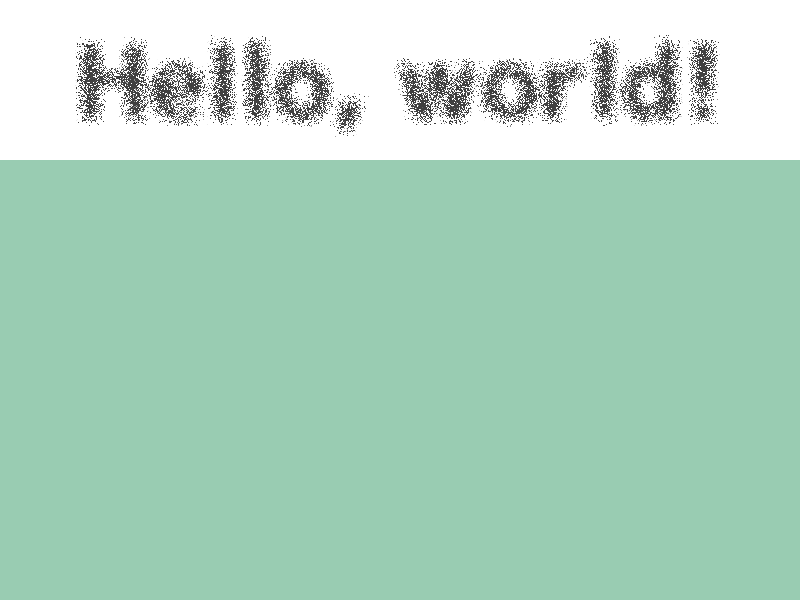
14. Image
- Writing text to an
Image enables flexible image processing
# include <Siv3D.hpp>

void Main()
{
	Scene::SetBackground(ColorF{ 0.6, 0.8, 0.7 });

	const Font font{ 100, Typeface::Bold };

	Image image{ 800, 160, Palette::White };

	font(U"Hello, world!").paintAt(image, 400, 80, ColorF{ 0.25 });

	image.spread(8);

	const Texture texture{ image };

	while (System::Update())
	{
		texture.draw();
	}
}
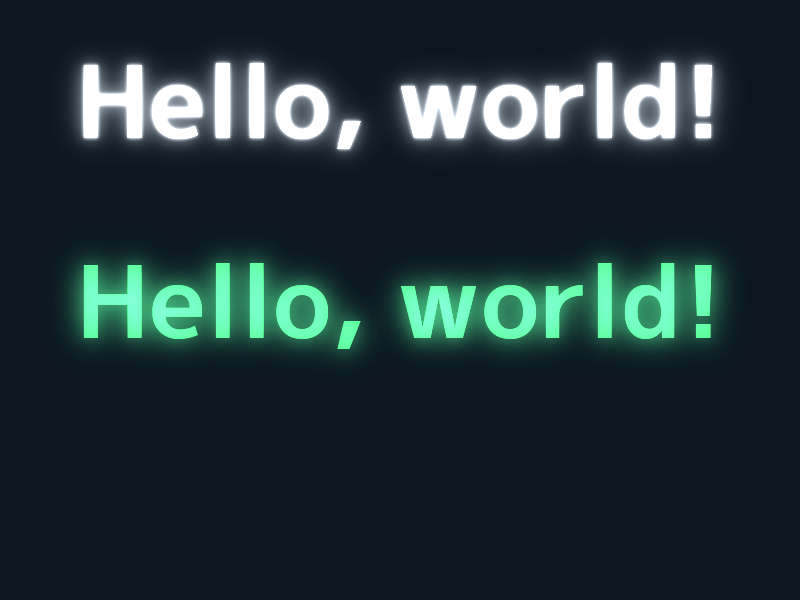
15. RenderTexture
- Drawing text to a
RenderTexture allows high-speed GPU processing of Gaussian blur and downsampling
# include <Siv3D.hpp>

constexpr Size BaseSize{ 800, 256 };

// Create texture
RenderTexture CreateTexture(const Font& font, StringView text)
{
	RenderTexture renderTexture{ Size{ 800, 256 }, ColorF{ 0.0 } };
	{
		const ScopedRenderTarget2D renderTarget{ renderTexture };

		font(text).drawAt(400, 100);
	}

	Graphics2D::Flush();

	return renderTexture;
}

void Main()
{
	const Font font{ 100, Typeface::Bold };
	const String text = U"Hello, world!";

	RenderTexture gaussianA1{ CreateTexture(font, text) }, gaussianB1{ BaseSize };
	RenderTexture gaussianA4{ BaseSize / 4 }, gaussianB4{ BaseSize / 4 };
	RenderTexture gaussianA8{ BaseSize / 8 }, gaussianB8{ BaseSize / 8 };
	{
		Shader::GaussianBlur(gaussianA1, gaussianB1, gaussianA1);
		Shader::Downsample(gaussianA1, gaussianA4);
		Shader::GaussianBlur(gaussianA4, gaussianB4, gaussianA4);
		Shader::Downsample(gaussianA4, gaussianA8);
		Shader::GaussianBlur(gaussianA8, gaussianB8, gaussianA8);
	}

	while (System::Update())
	{
		font(text).drawAt(400, 100);
		font(text).drawAt(400, 300, ColorF{ 0.3, 0.9, 0.5 });
		{
			const ScopedRenderStates2D blend{ BlendState::Additive };
			gaussianA1.draw(ColorF{ 1.0 });
			gaussianA4.resized(BaseSize).draw(ColorF{ 0.5 });
			gaussianA8.resized(BaseSize).draw(ColorF{ 0.5 });

			gaussianA4.resized(BaseSize).draw(0, 200, ColorF{ 0.3, 0.9, 0.5 } * 0.25);
			gaussianA8.resized(BaseSize).draw(0, 200, ColorF{ 0.3, 0.9, 0.5 });
		}
	}
}
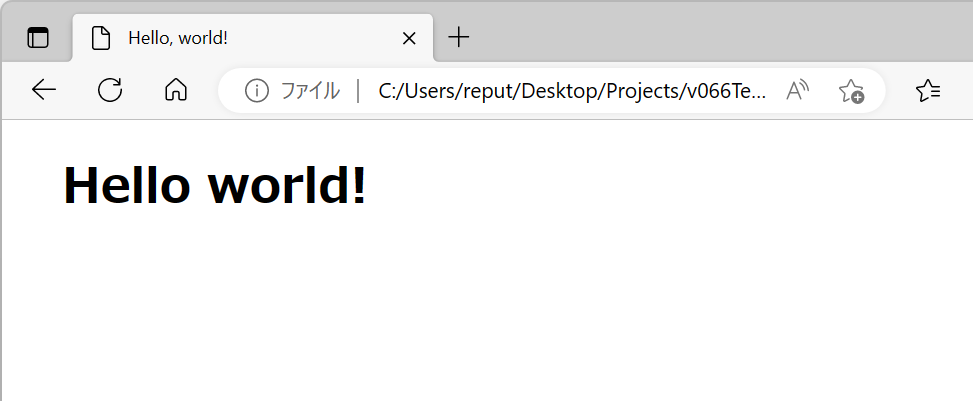
16. HTML
- You can open HTML documents created with
HTMLWriter in a web browser using System::LaunchBrowser()
# include <Siv3D.hpp>

void Main()
{
	{
		HTMLWriter html{ U"hello.html", U"Hello, world!" };

		// <h1>Hello world!</h1>
		html.writeHeader(U"Hello world!");
	}

	System::LaunchBrowser(U"hello.html");

	while (System::Update())
	{

	}
}
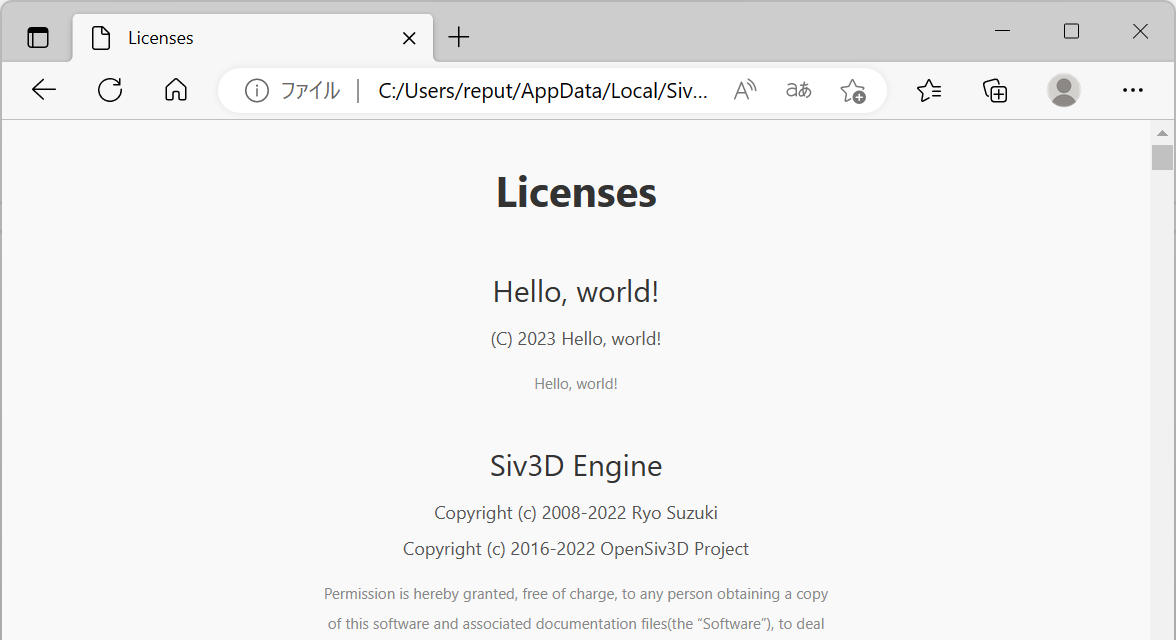
17. License
- You can output additional license text in license documents
# include <Siv3D.hpp>

void Main()
{
	LicenseInfo info{ .title = U"Hello, world!", .copyright = U"(C) 2023 Hello, world!", .text = U"Hello, world!" };

	LicenseManager::AddLicense(info);

	LicenseManager::ShowInBrowser();

	while (System::Update())
	{

	}
}
18. Clipboard
- You can change clipboard contents with
Clipboard::SetText()
# include <Siv3D.hpp>

void Main()
{
	Clipboard::SetText(U"Hello, world!");

	while (System::Update())
	{

	}
}
Twitter::OpenTweetWindow() can display a screen for tweeting specific messages in a web browser
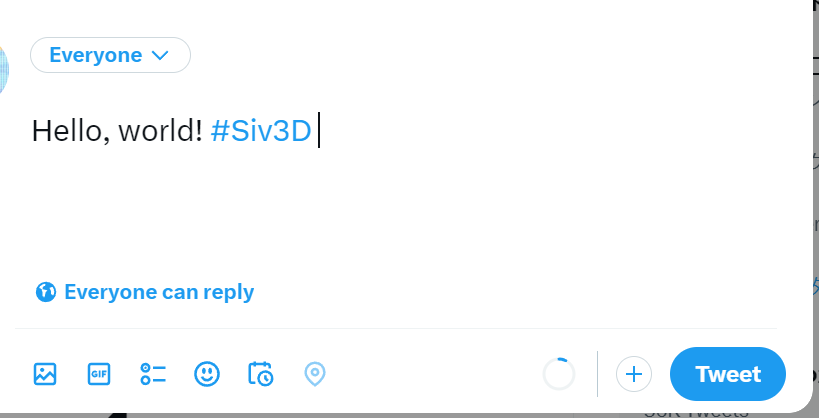
# include <Siv3D.hpp>

void Main()
{
	Twitter::OpenTweetWindow(U"Hello, world! #Siv3D");

	while (System::Update())
	{

	}
}
20. KlattTTS
- Use the text-to-speech feature
KlattTTS::Speak() using a classic speech synthesis model
# include <Siv3D.hpp>

void Main()
{
	KlattTTS::Speak(U"Hello, world!");

	while (System::Update())
	{

	}
}
21. QR
- Convert specified text to a QR code and display it

# include <Siv3D.hpp>

void Main()
{
	Scene::SetBackground(ColorF{ 0.6, 0.8, 0.7 });

	const Texture texture{ QR::MakeImage(QR::EncodeText(U"Hello, world!")) };

	while (System::Update())
	{
		texture.draw(40, 40);
	}
}