15. Displaying Text
Learn how to display numbers and text on the screen with specified colors and positions.
15.1 Converting Numbers to Strings (1)
- The most convenient way to convert variable values to strings is using format strings
- Writing
U"{}"_fmt(x)inserts the valuexconverted to a string into{} - For example, writing
U"{} month {} day"_fmt(month, day)converts the values ofmonthanddayto strings, generating a string likeU"12 month 31 day"

# include <Siv3D.hpp>

void Main()
{
	int32 score = 12345;
	Print << U"Score: {} points"_fmt(score);

	int32 year = 2025;
	int32 month = 12;
	int32 day = 31;
	Print << U"{} year {} month {} day"_fmt(year, month, day);

	while (System::Update())
	{

	}
}
- While you can also write it as follows with
Print,_fmt()is more convenient for future programs as it can be treated as a single string and allows format control (see 15.2)
Method without using format strings
# include <Siv3D.hpp>

void Main()
{
	int32 score = 12345;
	Print << U"Score: " << score << U" points";

	int32 year = 2025;
	int32 month = 12;
	int32 day = 31;
	Print << year << U" year " << month << U" month " << day << U" day";

	while (System::Update())
	{

	}
}
15.2 Converting Numbers to Strings (2)
- Format strings have various formatting options
- To convert a floating-point value
xwith a specified number of decimal places, writeU"{:.2f}"_fmt(x)- This generates a string with up to 2 decimal places (further digits are rounded)
- For example,
U"{:.3f}"_fmt(3.141592)becomesU"3.142"
- If you don't want to display decimal places, write
U"{:.0f}"_fmt(x)- For example,
U"{:.0f}"_fmt(3.141592)becomesU"3"
- For example,

# include <Siv3D.hpp>

void Main()
{
	double x = 123.4567;

	Print << x;
	Print << U"{}"_fmt(x);
	Print << U"{:.2f}"_fmt(x);
	Print << U"{:.0f}"_fmt(x);

	while (System::Update())
	{

	}
}
- Other formatting options will be explained in detail in Tutorial 36
15.3 Creating Fonts
- While
Printallows easy display of strings on screen, you cannot change the position, size, or color of text - To draw strings more freely, use fonts (
Fontclass) - Fonts are created by loading font files on the computer
- The simplest way to create a font is from font files bundled with Siv3D
- You can create a font from bundled font files with simple code like this:
- Thanks to bundled font files, Siv3D can draw text with the same appearance on any platform (Windows, macOS, Linux, Web)
15.4 Drawing Text
- After creating a font, pass a string to the
()operator and draw the string using these methods:.draw(font size, pos, color).draw(font size, x, y, color)- Coordinates specify the top-left position. If color is omitted, white (
Palette::White) is used
- Strings can include newline characters
\n
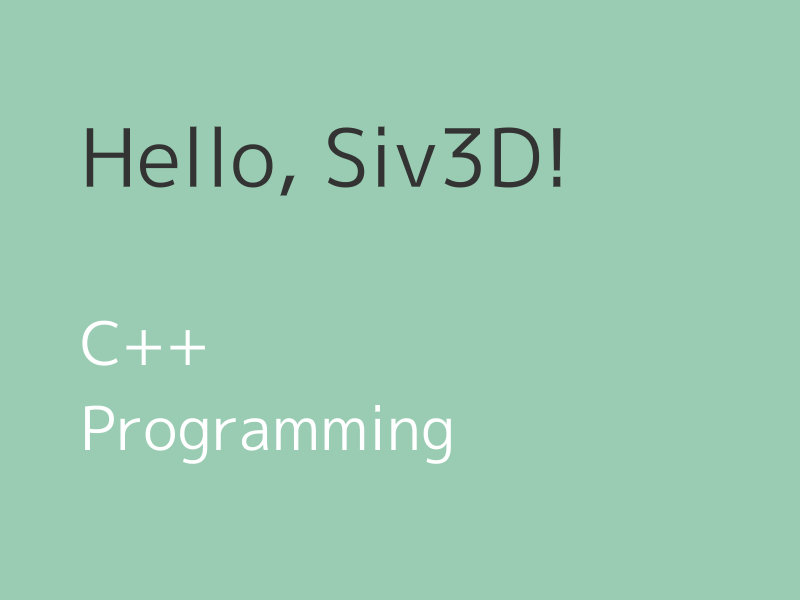
# include <Siv3D.hpp>

void Main()
{
	Scene::SetBackground(ColorF{ 0.6, 0.8, 0.7 });

	// Create font from bundled font file
	const Font font{ FontMethod::MSDF, 48 };

	while (System::Update())
	{
		font(U"Hello, Siv3D!").draw(80, Vec2{ 80, 100 }, ColorF{ 0.2 });

		font(U"C++\nProgramming").draw(60, Vec2{ 80, 300 });
	}
}
- The
48given in theFontconstructor is the font's base size (detail level), which affects quality when drawing text large - The actual text size is specified by the first argument of
.draw(), which is80or60
Font Base Size and Text Quality
- The base size
48when creating a font withFontMethod::MSDFrepresents the detail level of font data - This value is a trade-off with runtime performance
- Increasing detail increases memory consumption and processing time
- Decreasing it may reduce drawing quality for complex character shapes
- For kanji characters,
48is a well-balanced value. For alphanumeric characters only,32is sufficient
15.5 Bold Fonts
- Siv3D comes bundled with several font types
- If not specified,
Typeface::Regularis used - Specifying
Typeface::Boldcreates a bold font
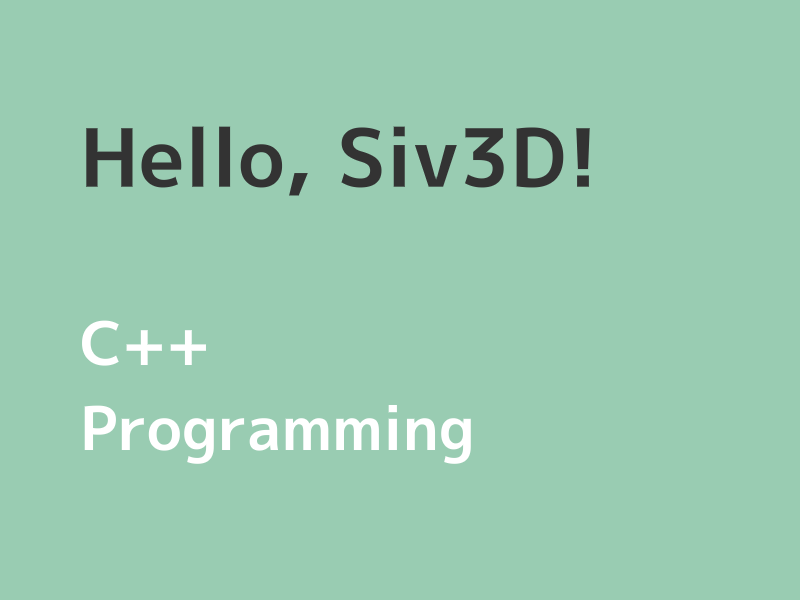
Creating a bold font
# include <Siv3D.hpp>

void Main()
{
	Scene::SetBackground(ColorF{ 0.6, 0.8, 0.7 });

	// Create bold font from bundled font file
	const Font font{ FontMethod::MSDF, 48, Typeface::Bold };

	while (System::Update())
	{
		font(U"Hello, Siv3D!").draw(80, Vec2{ 80, 100 }, ColorF{ 0.2 });

		font(U"C++\nProgramming").draw(60, Vec2{ 80, 300 });
	}
}
- Other fonts will be explained in detail in Tutorial 34
15.6 Drawing Text with Center Position Specified
- To display text by specifying the center coordinates instead of top-left position, use these methods:
.drawAt(font size, pos, color);.drawAt(font size, x, y, color);- Text is displayed so that the center coordinates are at pos or (x, y)

# include <Siv3D.hpp>

void Main()
{
	Scene::SetBackground(ColorF{ 0.6, 0.8, 0.7 });

	const Font font{ FontMethod::MSDF, 48 };

	while (System::Update())
	{
		font(U"Hello").drawAt(60, Vec2{ 400, 300 }, ColorF{ 0.2 });

		font(U"Siv3D").drawAt(80, Cursor::Pos());
	}
}
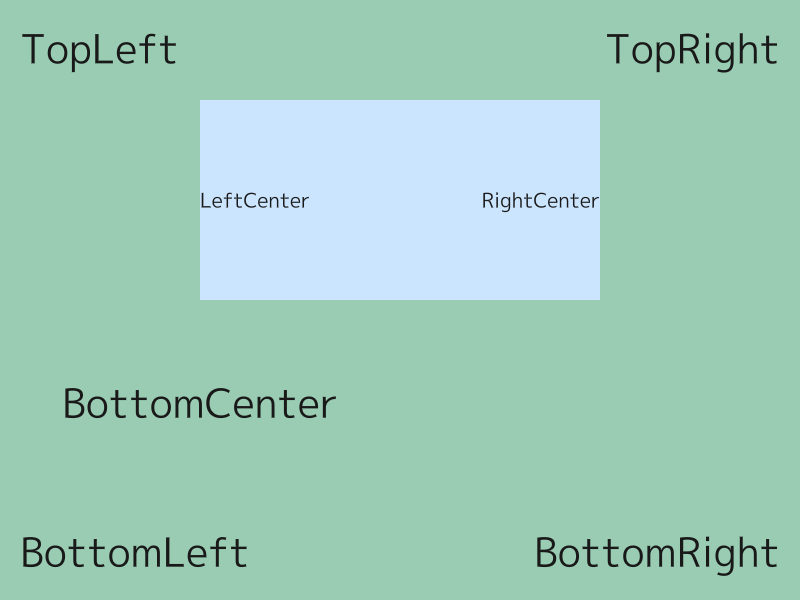
15.7 Drawing Text with Other Reference Positions
- To display text by specifying the right center position, use these methods:
.draw(font size, Arg::rightCenter = pos, color);.draw(font size, Arg::rightCenter(x, y), color);- Text is displayed so that the right center coordinates are at pos or (x, y)
- There are 9 reference positions in total
| Reference Position | Description |
|---|---|
Arg::topLeft |
Top-left. Same as .draw() |
Arg::topCenter |
Center of top edge |
Arg::topRight |
Top-right |
Arg::leftCenter |
Center of left edge |
Arg::center |
Center. Same as .drawAt() |
Arg::rightCenter |
Center of right edge |
Arg::bottomLeft |
Bottom-left |
Arg::bottomCenter |
Center of bottom edge |
Arg::bottomRight |
Bottom-right |
# include <Siv3D.hpp>

void Main()
{
	Scene::SetBackground(ColorF{ 0.6, 0.8, 0.7 });

	const Font font{ FontMethod::MSDF, 48 };

	while (System::Update())
	{
		font(U"TopLeft").draw(40, Arg::topLeft(20, 20), ColorF{ 0.1 });
		font(U"TopRight").draw(40, Arg::topRight(780, 20), ColorF{ 0.1 });

		font(U"BottomLeft").draw(40, Arg::bottomLeft(20, 580), ColorF{ 0.1 });
		font(U"BottomRight").draw(40, Arg::bottomRight(780, 580), ColorF{ 0.1 });

		Rect{ 200, 100, 400, 200 }.draw(ColorF{ 0.8, 0.9, 1.0 });
		font(U"LeftCenter").draw(20, Arg::leftCenter(200, 200), ColorF{ 0.1 });
		font(U"RightCenter").draw(20, Arg::rightCenter(600, 200), ColorF{ 0.1 });

		// Draw text with mouse cursor position as bottom center
		font(U"BottomCenter").draw(40, Arg::bottomCenter = Cursor::Pos(), ColorF{0.1});
	}
}
Review Checklist
- Learned how to convert numbers to strings using format strings
U"{}"_fmt() - Learned how to convert floating-point numbers to strings with specified decimal places using
U"{:.2f}"_fmt(x) - Learned how to create fonts from Siv3D's bundled font files
- Learned how to draw strings on screen using the font's
.draw() - Learned how to create bold fonts by specifying
Typeface::Bold - Learned how to draw strings with center position specified using
.drawAt() - Learned how to draw strings with 9 different reference positions using
Arg::rightCenteretc.