31. Drawing Textures
Learn how to create and draw textures from emojis, icons, and image files.
31.1 Creating and Drawing Textures
Creating Textures
- Images displayed on screen are managed by the
Textureclass - There are several ways to create textures:
- 31.2 Create from emojis
- 31.3 Create from icons
- 31.4 Create from image files
- 31.5 Create from image data
- Creating textures is costly, so it's usually done before the main loop
- If creating textures within the main loop, control is needed to prevent recreation every frame
Drawing Textures
- To draw textures, use the member functions of the
Textureclass:- 31.9 Drawing with top-left coordinate specification
.draw() - 31.10 Drawing with center coordinate specification
.drawAt() - 31.11 Drawing with other coordinate specifications
.draw(Arg::...)
- 31.9 Drawing with top-left coordinate specification
- The following classes are provided to represent textures with transformations like scaling, rotation, flipping, and partial extraction:
TextureRegionTexturedQuadTexturedCircleTexturedRoundRect
- These classes are created by member functions of
Texture, but can be used almost seamlessly likeTexture
// .scaled() returns TextureRegion
// .rotated() returns TexturedQuad
texture.scaled(2.0).rotated(30_deg).drawAt(400, 300);
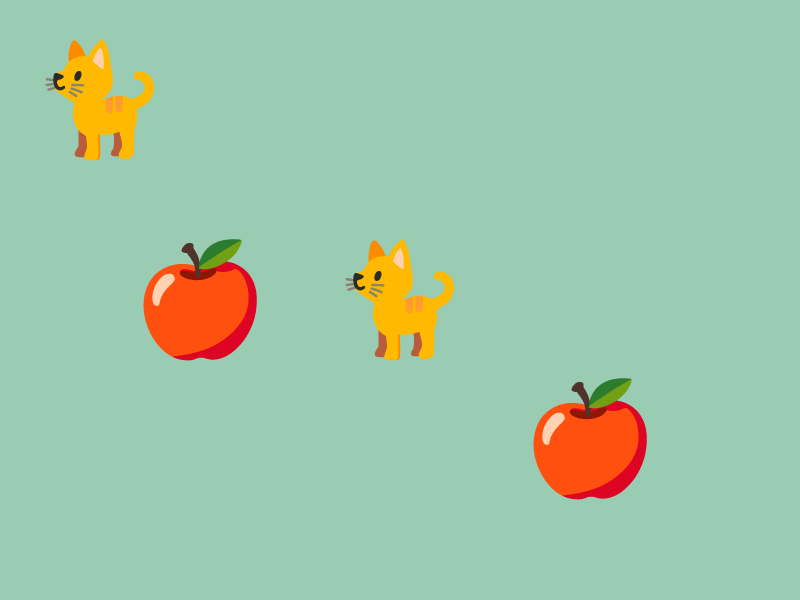
31.2 Creating from Emojis
- Siv3D includes over 3,700 emojis compliant with Unicode 15.1
- Create a texture from an emoji using
Texture{ U"emoji"_emoji }
- You can check the emoji list at Emojipedia: Google Noto Color Emoji
- The same emoji designs can be drawn on any platform (Windows, macOS, Linux, Web)
# include <Siv3D.hpp>

void Main()
{
	Scene::SetBackground(ColorF{ 0.6, 0.8, 0.7 });

	const Texture emoji1{ U"🐈"_emoji };
	const Texture emoji2{ U"🍎"_emoji };

	while (System::Update())
	{
		emoji1.drawAt(100, 100);
		emoji1.drawAt(400, 300);

		emoji2.drawAt(200, 300);
		emoji2.drawAt(Cursor::Pos());
	}
}
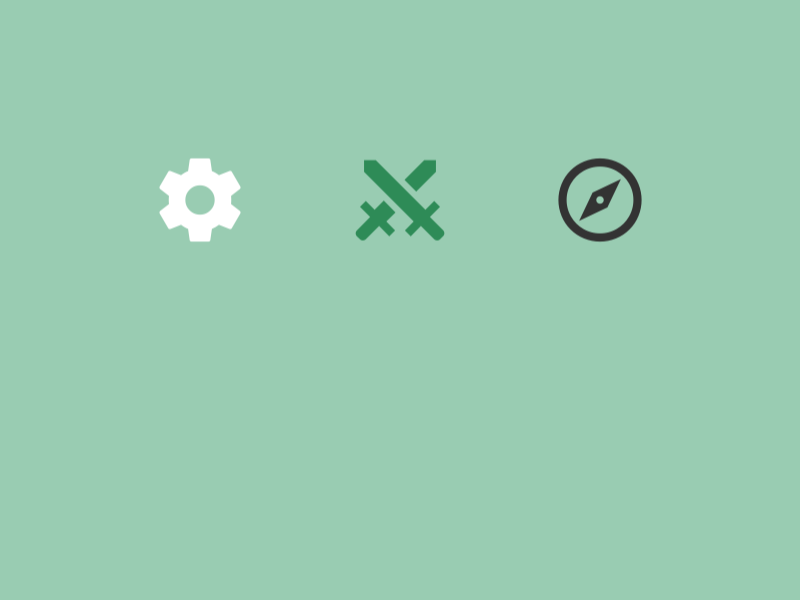
31.3 Creating from Icons
- Siv3D includes over 7,000 icons
- Create a texture from an icon using
Texture{ 0xicon_number_icon, size }
- Icon numbers are the hexadecimal codes from Material Design Icons or Font Awesome
- The same icon designs can be drawn on any platform (Windows, macOS, Linux, Web)
- Icons are white in color, so you can change the color when drawing using 31.12 color multiplication
# include <Siv3D.hpp>

void Main()
{
	Scene::SetBackground(ColorF{ 0.6, 0.8, 0.7 });

	const Texture icon1{ 0xF0493_icon, 100 };
	const Texture icon2{ 0xF0787_icon, 100 };
	const Texture icon3{ 0xF018C_icon, 100 };

	while (System::Update())
	{
		icon1.drawAt(200, 200);
		icon2.drawAt(400, 200, Palette::Seagreen);
		icon3.drawAt(600, 200, ColorF{ 0.2 });
	}
}
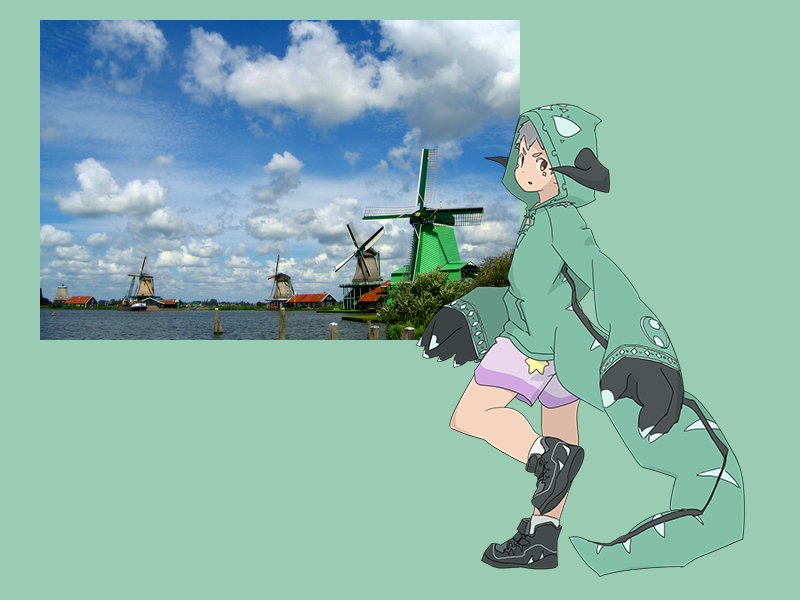
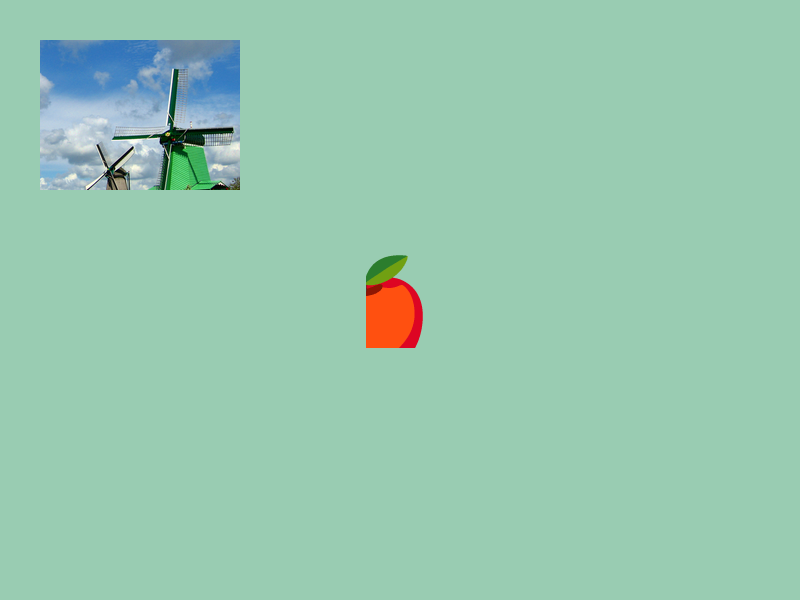
31.4 Creating from Image Files
- To create a texture from an image file, use
Texture{ file_path } - The file path should be a relative path from the folder where the executable is located (the
Appfolder during development) or an absolute path- For example,
U"example/windmill.png"refers to thewindmill.pngfile in theexample/folder under the executable folder (Appfolder)
- For example,
- Siv3D supports loading the following 9 image formats:
| Format | Extension | Support |
|---|---|---|
| PNG | png | ✅ |
| JPEG | jpg / jpeg / jfif | ✅ |
| BMP | bmp | ✅ |
| SVG | svg | ✅ |
| GIF | gif | ✅ |
| TGA | tga | ✅ |
| PPM | ppm / pgm / pbm / pnm | ✅ |
| WebP | webp | ✅ |
| TIFF | tif / tiff | ✅ |
| DDS | dds | (Future version) |
| WBMP | wbmp | (Future version) |
| JPEG XL | jxl | (Future version) |
# include <Siv3D.hpp>

void Main()
{
	Scene::SetBackground(ColorF{ 0.6, 0.8, 0.7 });

	// Windmill image
	const Texture texture1{ U"example/windmill.png" };

	// Siv3D-kun (Siv3D's official mascot character) image
	const Texture texture2{ U"example/siv3d-kun.png" };

	while (System::Update())
	{
		texture1.draw(40, 20);

		texture2.draw(400, 100);
	}
}
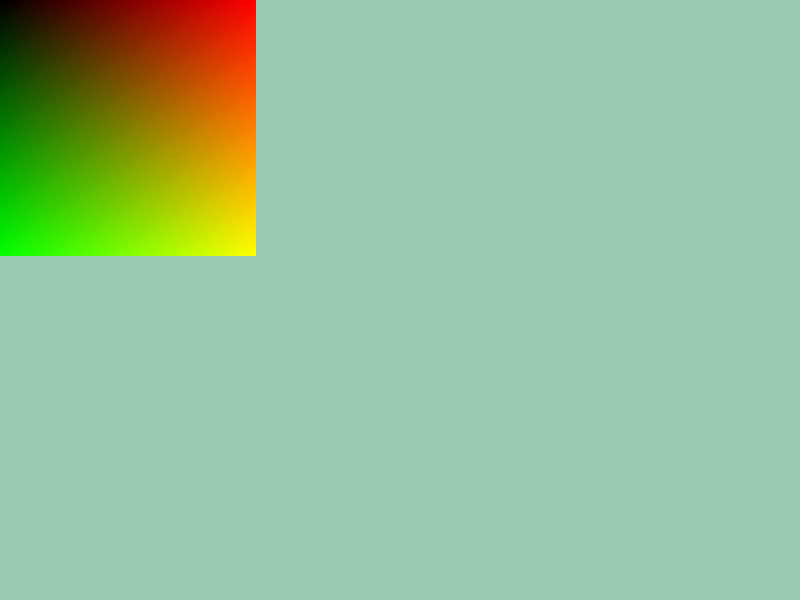
31.5 Creating from Image Data
- You can create a texture from image data (
Imageclass) generated or processed by a program- See Tutorial 63 for more about the
Imageclass
- See Tutorial 63 for more about the
- Use
Texture{ image_data }to create a texture from image data
# include <Siv3D.hpp>

Image MakeImage()
{
	Image image{ 256, 256 };

	for (int32 y = 0; y < image.height(); ++y)
	{
		for (int32 x = 0; x < image.width(); ++x)
		{
			image[y][x] = ColorF{ (x / 255.0), (y / 255.0), 0.0 };
		}
	}

	return image;
}

void Main()
{
	Scene::SetBackground(ColorF{ 0.6, 0.8, 0.7 });

	const Texture texture{ MakeImage() };

	while (System::Update())
	{
		texture.draw();
	}
}
31.6 Texture Size
- The width (in pixels) of a texture can be obtained with
.width(). The return value is of typeint32 - The height (in pixels) of a texture can be obtained with
.height(). The return value is of typeint32 - To get both width and height at once, use
.size(). The return value is of typeSize(Point)
# include <Siv3D.hpp>

void Main()
{
	const Texture texture{ U"example/windmill.png" };
	const Texture emoji{ U"🐈"_emoji };

	Print << texture.width();
	Print << texture.height();
	Print << emoji.size();

	while (System::Update())
	{

	}
}
31.7 Empty Texture
- A
Textureobject has an empty texture by default - An empty texture is a 16 × 16 pixel yellow image that can be treated like a valid texture
- An empty texture also results when loading emojis, icons, or image files fails
- To check if a texture is empty, use
if (texture.isEmpty()),if (texture), orif (not texture)

# include <Siv3D.hpp>

void Main()
{
	Scene::SetBackground(ColorF{ 0.6, 0.8, 0.7 });

	Texture texture1;

	Print << texture1.isEmpty();

	// Assign a texture
	texture1 = Texture{ U"🐈"_emoji };

	// Specify a non-existent image file
	const Texture texture2{ U"example/aaa.png" };

	if (not texture2)
	{
		Print << U"Failed to load a texture";
	}

	while (System::Update())
	{
		// Draw empty texture (16x16 yellow image)
		texture2.drawAt(400, 300);
	}
}
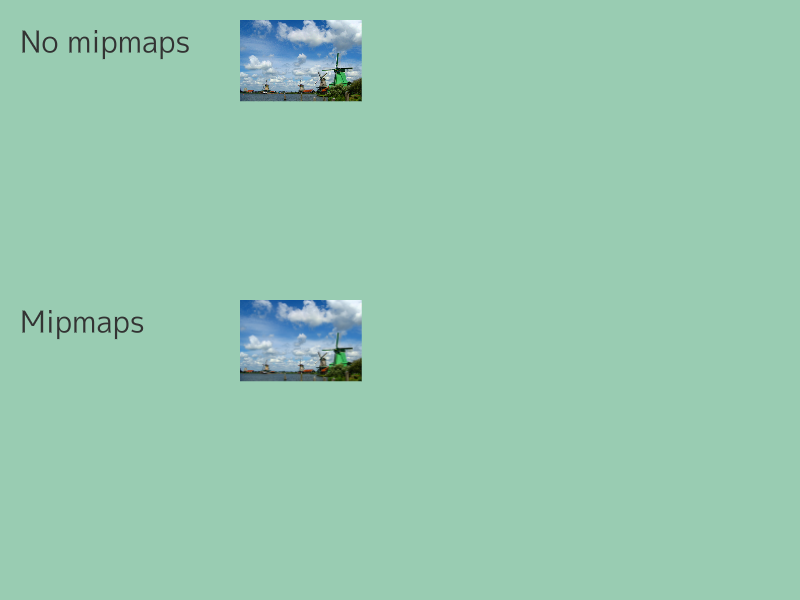
31.8 Mipmap Generation
- Mipmaps are a technique where reduced-size images (1/2, 1/4, ...) are pre-generated internally
- Using mipmaps increases video memory usage by about 30%, but provides the following benefits:
- Reduced noise and flickering when drawing at reduced sizes (improved image quality)
- Reduced processing load when drawing at reduced sizes
- If you never draw at reduced sizes, you might choose not to generate mipmaps
- In Siv3D, mipmaps are managed internally within the
Texture - Mipmaps are generated by default when creating textures from emojis or icons
- When creating textures from image files or
Image, you need to explicitly specifyTextureDesc::Mippedin the constructor
| Texture Creation Method | Automatic Mipmap Generation |
|---|---|
| Create from emojis | ✅ |
| Create from icons | ✅ |
| Create from image files | Requires TextureDesc::Mipped specification |
Create from Image |
Requires TextureDesc::Mipped specification |
- In the following sample, the first texture doesn't generate mipmaps, while the second texture generates mipmaps
- You can see that using mipmaps reduces noise when scaling down
# include <Siv3D.hpp>

void Main()
{
	Scene::SetBackground(ColorF{ 0.6, 0.8, 0.7 });
	const Font font{ FontMethod::MSDF, 48 };

	const Texture texture1{ U"example/windmill.png" };
	const Texture texture2{ U"example/windmill.png", TextureDesc::Mipped };

	while (System::Update())
	{
		const double scale = Periodic::Sine0_1(12s);

		font(U"No mipmaps").draw(30, Vec2{ 20, 20 }, ColorF{ 0.2 });
		font(U"Mipmaps").draw(30, Vec2{ 20, 300 }, ColorF{ 0.2 });

		texture1.scaled(scale).draw(240, 20);
		texture2.scaled(scale).draw(240, 300);
	}
}
31.9 Drawing with Top-Left Coordinate Specification
- To draw a texture with the top-left coordinate specified, use
.draw()
| Code | Description |
|---|---|
.draw(color = Palette::White) |
Draw the texture from coordinate (0, 0) |
.draw(x, y, color = Palette::White) |
Draw the texture from coordinate (x, y) |
.draw(pos, color = Palette::White) |
Draw the texture from coordinate pos |
.draw(x, y, Arg::top = top_color, Arg::bottom = bottom_color) |
Draw with specified top and bottom colors |
.draw(x, y, Arg::left = left_color, Arg::right = right_color) |
Draw with specified left and right colors |
.draw(pos, Arg::top = top_color, Arg::bottom = bottom_color) |
Draw with specified top and bottom colors |
.draw(pos, Arg::left = left_color, Arg::right = right_color) |
Draw with specified left and right colors |
# include <Siv3D.hpp>

void Main()
{
	Scene::SetBackground(ColorF{ 0.6, 0.8, 0.7 });

	const Texture texture1{ U"🐈"_emoji };
	const Texture texture2{ U"example/windmill.png" };

	while (System::Update())
	{
		texture1.draw();

		texture2.draw(400, 300);
	}
}
31.10 Drawing with Center Coordinate Specification
- To draw a texture with the center coordinate specified, use
.drawAt()
| Code | Description |
|---|---|
.drawAt(x, y, color = Palette::White) |
Draw the texture centered at coordinate (x, y) |
.drawAt(pos, color = Palette::White) |
Draw the texture centered at coordinate pos |
.drawAt(x, y, Arg::top = top_color, Arg::bottom = bottom_color) |
Draw with specified top and bottom colors |
.drawAt(x, y, Arg::left = left_color, Arg::right = right_color) |
Draw with specified left and right colors |
.drawAt(pos, Arg::top = top_color, Arg::bottom = bottom_color) |
Draw with specified top and bottom colors |
.drawAt(pos, Arg::left = left_color, Arg::right = right_color) |
Draw with specified left and right colors |

# include <Siv3D.hpp>

void Main()
{
	Scene::SetBackground(ColorF{ 0.6, 0.8, 0.7 });

	const Texture texture1{ U"🐈"_emoji };
	const Texture texture2{ U"example/windmill.png" };

	while (System::Update())
	{
		texture1.drawAt(0, 0);

		texture2.drawAt(400, 300);
	}
}
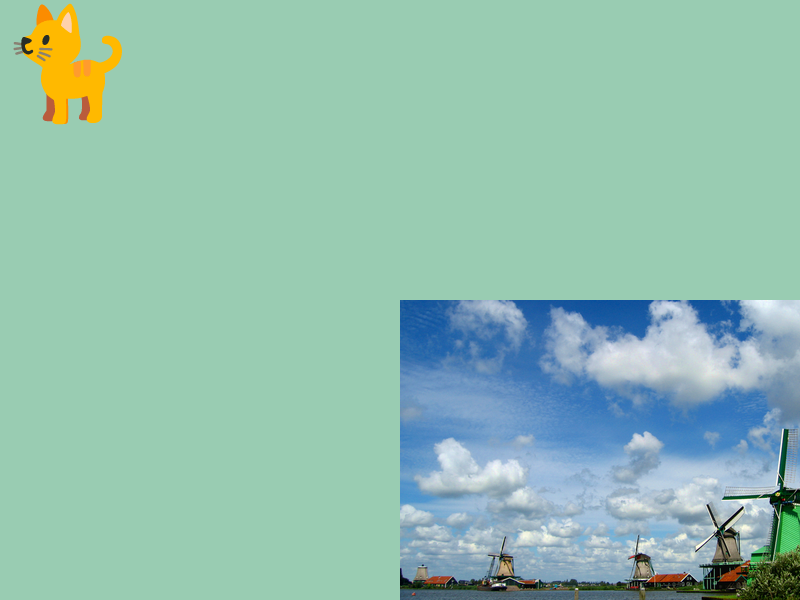
31.11 Drawing with Other Coordinate Specifications
- To draw a texture with the right edge center position specified, use the following methods:
.draw(Arg::topRight = pos, ...).draw(Arg::topRight(x, y), ...)
- There are 9 reference positions that can be specified this way:
| Reference Position | Description |
|---|---|
Arg::topLeft |
Top-left of texture. Same as .draw() |
Arg::topCenter |
Center of top edge |
Arg::topRight |
Top-right |
Arg::leftCenter |
Center of left edge |
Arg::center |
Center. Same as .drawAt() |
Arg::rightCenter |
Center of right edge |
Arg::bottomLeft |
Bottom-left |
Arg::bottomCenter |
Center of bottom edge |
Arg::bottomRight |
Bottom-right |
# include <Siv3D.hpp>

void Main()
{
	Scene::SetBackground(ColorF{ 0.6, 0.8, 0.7 });

	const Texture texture1{ U"🐈"_emoji };
	const Texture texture2{ U"example/windmill.png" };

	while (System::Update())
	{
		texture1.draw(Arg::topRight = Vec2{ 800, 0 });

		texture2.draw(Arg::bottomLeft(20, 580));
	}
}
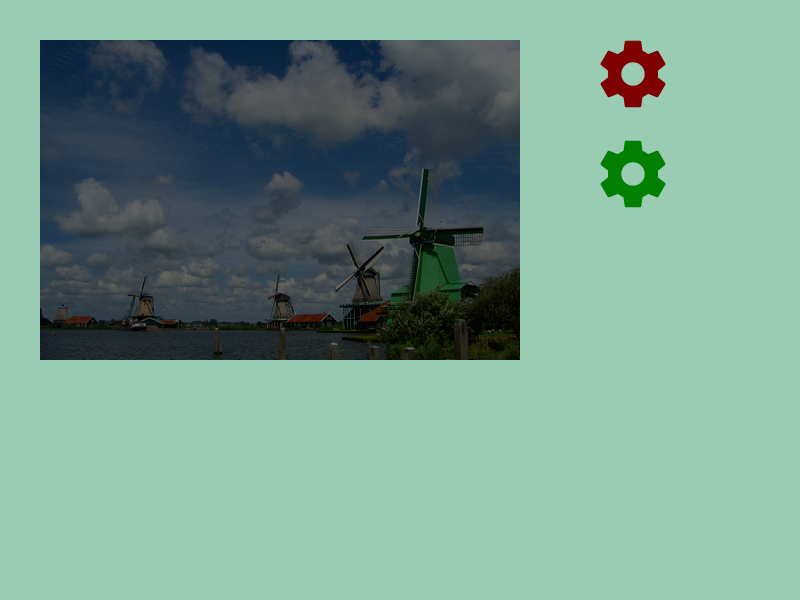
31.12 Drawing with Color Multiplication
31.12.1 Multiplying RGB Components
.draw()and.drawAt()allow you to specify a color to multiply with the texture- When drawing a texture pixel
ColorF{ sr, sg, sb }with color multiplicationColorF{ r, g, b }, the drawn color becomesColorF{ (sr * r), (sg * g), (sb * b) }(in normal blend mode) - By default,
Palette::White(ColorF{ 1.0 }) is used as the multiplication color
# include <Siv3D.hpp>

void Main()
{
	Scene::SetBackground(ColorF{ 0.6, 0.8, 0.7 });

	const Texture texture{ U"example/windmill.png" };
	const Texture icon{ 0xF0493_icon, 80 };

	while (System::Update())
	{
		texture.draw(40, 40, ColorF{ 0.4 });

		icon.draw(600, 40, ColorF{ 0.5, 0.0, 0.0 });

		icon.draw(600, 140, ColorF{ 0.0, 0.5, 0.0 });
	}
}
31.12.2 Using Alpha Values
- You can also use opacity (alpha values)
- When drawing a texture pixel
ColorF{ sr, sg, sb }onto a destination pixelColorF{ dr, dg, db }, the drawn color becomesColorF{ (sr * a + dr * (1 - a)), (sg * a + dg * (1 - a)), (sb * a + db * (1 - a)) }(in normal blend mode)

# include <Siv3D.hpp>

void Main()
{
	Scene::SetBackground(ColorF{ 0.6, 0.8, 0.7 });

	const Texture texture{ U"example/windmill.png" };
	const Texture icon{ 0xF0493_icon, 80 };

	while (System::Update())
	{
		texture.draw(40, 40, ColorF{ 1.0, 0.5 });

		icon.draw(500, 40, ColorF{ 0.5, 0.0, 0.0, 0.3 });

		icon.draw(500, 140, ColorF{ 0.0, 0.5, 0.0, 0.3 });
	}
}
31.13 Scaled Drawing
- To draw a texture with scaling, use the following member functions to create a
TextureRegionwith scaling applied:
| Code | Description |
|---|---|
.scaled(s) |
Create a TextureRegion with the texture scaled by s times in both directions |
.scaled(sx, sy) |
Create a TextureRegion with the texture scaled by sx, sy times horizontally and vertically |
.resized(size) |
Create a TextureRegion with the texture's longest side scaled to size (pixels) |
.resized(width, height) |
Create a TextureRegion with the texture scaled to width width (pixels) and height height (pixels) |
TextureRegioncan be drawn just likeTexture- The cost of creating a
TextureRegionfrom an existingTextureis small, so it can be executed within the main loop without problems
# include <Siv3D.hpp>

void Main()
{
	Scene::SetBackground(ColorF{ 0.6, 0.8, 0.7 });

	const Texture texture{ U"example/windmill.png", TextureDesc::Mipped };
	const Texture emoji{ U"🍎"_emoji };

	while (System::Update())
	{
		texture.scaled(0.25).draw(40, 40);
		texture.scaled(0.8, 0.5).draw(40, 140);
		texture.scaled(2).draw(40, 340);

		emoji.resized(40).draw(500, 40);
		emoji.resized(120, 40).draw(600, 40);
		emoji.resized(40, 120).draw(500, 140);
	}
}
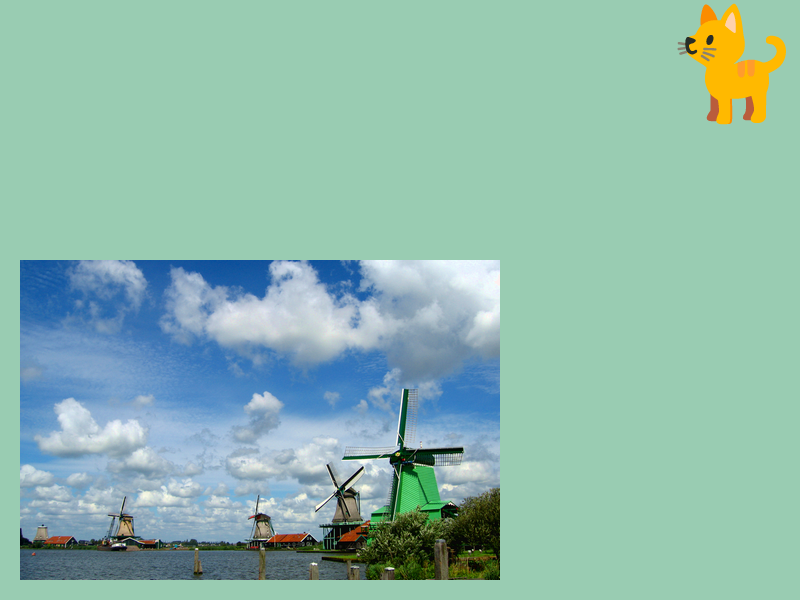
31.14 Drawing Fitted Within a Rectangle
- To draw a texture as large as possible within a certain size, use the following member functions to create a
TextureRegionwith scaling applied:
| Code | Description |
|---|---|
.fitted(size) |
Return a TextureRegion that preserves the texture's aspect ratio while fitting within width size.x and height size.y, scaled to be as large as possible |
.fitted(width, height) |
Return a TextureRegion that preserves the texture's aspect ratio while fitting within width width and height height, scaled to be as large as possible |
TextureRegioncan be drawn just likeTexture- The cost of creating a
TextureRegionfrom an existingTextureis small, so it can be executed within the main loop without problems
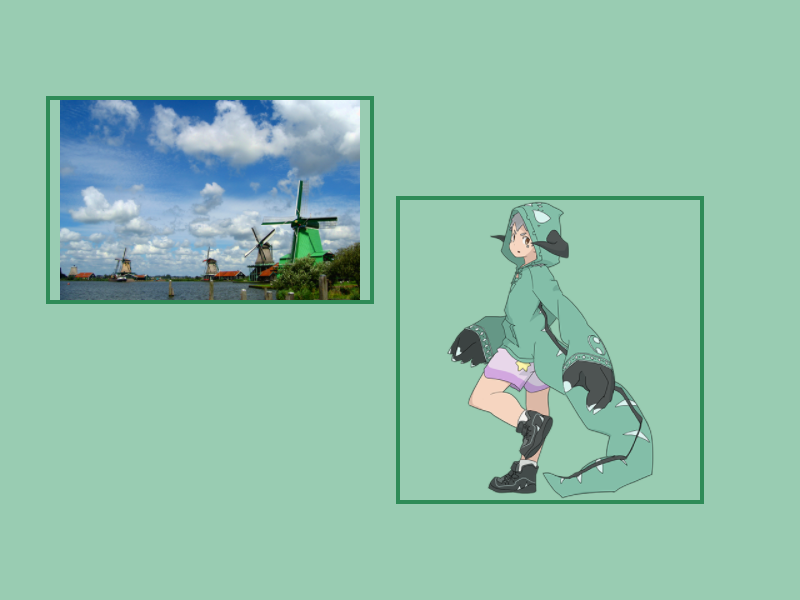
# include <Siv3D.hpp>

void Main()
{
	Scene::SetBackground(ColorF{ 0.6, 0.8, 0.7 });

	const Texture texture1{ U"example/windmill.png", TextureDesc::Mipped };
	const Texture texture2{ U"example/siv3d-kun.png", TextureDesc::Mipped };

	const Rect rect1{ 50, 100, 320, 200 };
	const Rect rect2{ 400, 200, 300 };

	while (System::Update())
	{
		rect1.drawFrame(0, 4, Palette::Seagreen);
		texture1.fitted(rect1.size).drawAt(rect1.center());

		rect2.drawFrame(0, 4, Palette::Seagreen);
		texture2.fitted(rect2.size).drawAt(rect2.center());
	}
}
31.15 Rotated Drawing
- To draw a texture with rotation, use the following member functions to create a
TexturedQuadwith rotation applied:.rotated()rotates the texture as if a pin were placed at the center of the texture.rotatedAt()rotates the texture as if a pin were placed at a specified coordinate on the texture
| Code | Description |
|---|---|
.rotated(angle) |
Create a TexturedQuad with the texture rotated by angle (radians) |
.rotatedAt(x, y, angle) |
Create a TexturedQuad with the texture rotated by angle (radians) around coordinate (x, y) |
.rotatedAt(pos, angle) |
Create a TexturedQuad with the texture rotated by angle (radians) around pos on the texture |
TexturedQuadcan be drawn likeTexture- The cost of creating a
TexturedQuadfrom an existingTextureis small, so it can be executed within the main loop without problems - When drawing a
TexturedQuadwith coordinate specification, the drawing position is based on the texture before rotation
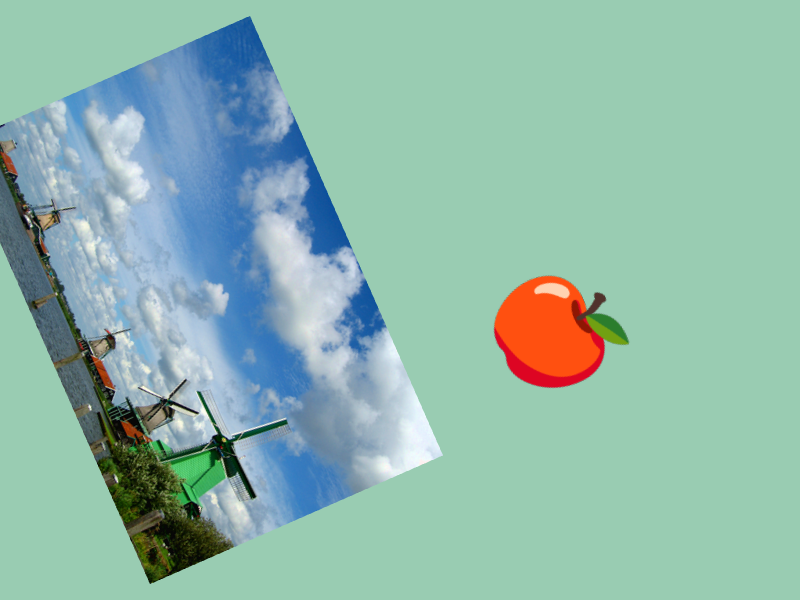
# include <Siv3D.hpp>

void Main()
{
	Scene::SetBackground(ColorF{ 0.6, 0.8, 0.7 });

	const Texture texture{ U"example/windmill.png" };
	const Texture emoji{ U"🍎"_emoji };

	while (System::Update())
	{
		const double angle = (Scene::Time() * 30_deg);

		texture.rotated(angle).drawAt(200, 300);

		emoji.rotatedAt(Vec2{ 58, 13 }, angle).drawAt(600, 300);
	}
}
31.16 Flipped Drawing
- To draw a texture with vertical or horizontal flipping, use the following member functions to create a
TextureRegionwith flipping applied:
| Code | Description |
|---|---|
.flipped() |
Create a TextureRegion with the texture vertically flipped |
.flipped(onOff) |
Create a TextureRegion with the texture vertically flipped. Flips when onOff is true |
.mirrored() |
Create a TextureRegion with the texture horizontally flipped |
.mirrored(onOff) |
Create a TextureRegion with the texture horizontally flipped. Flips when onOff is true |
TextureRegioncan be drawn just likeTexture- The cost of creating a
TextureRegionfrom an existingTextureis small, so it can be executed within the main loop without problems
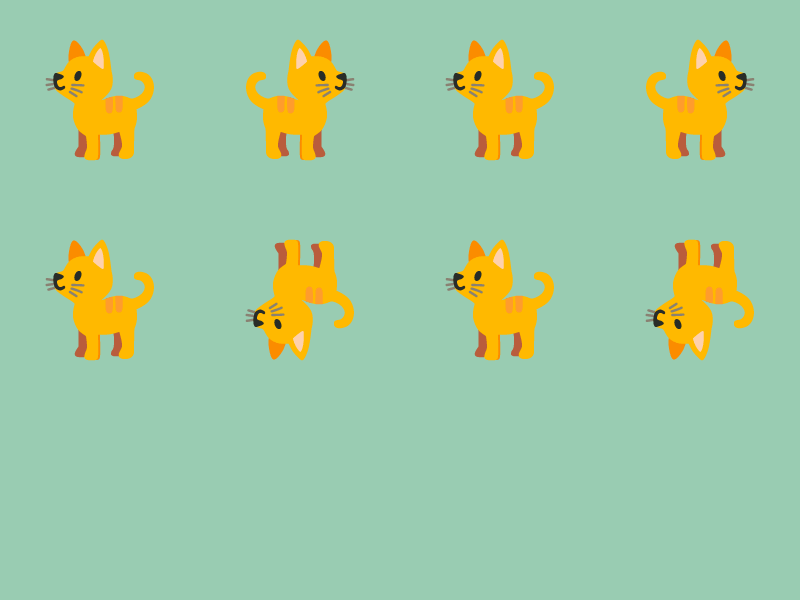
# include <Siv3D.hpp>

void Main()
{
	Scene::SetBackground(ColorF{ 0.6, 0.8, 0.7 });

	const Texture emoji{ U"🐈"_emoji };

	while (System::Update())
	{
		emoji.drawAt(100, 100);
		emoji.mirrored().drawAt(300, 100);
		emoji.mirrored(false).drawAt(500, 100);
		emoji.mirrored(true).drawAt(700, 100);

		emoji.drawAt(100, 300);
		emoji.flipped().drawAt(300, 300);
		emoji.flipped(false).drawAt(500, 300);
		emoji.flipped(true).drawAt(700, 300);
	}
}
31.17 Partial Drawing
- To draw only a rectangular region of a texture, use the following member functions to create a
TextureRegionwith partial extraction applied:
| Code | Description |
|---|---|
(x, y, w, h) |
Create a TextureRegion that extracts width w and height h from the texture starting at (x, y) |
(rect) |
Create a TextureRegion that extracts the rect region from the texture |
.uv(u, v, w, h) |
Create a TextureRegion that extracts width w and height h from UV coordinate (u, v) of the texture |
.uv(rect) |
Create a TextureRegion that extracts the UV coordinate rect region from the texture |
- The first two use pixel coordinates, while the latter two use UV coordinates
- UV coordinates are coordinates where the top-left of the texture is (0.0, 0.0) and the bottom-right is (1.0, 1.0), always ranging from 0.0 to 1.0 regardless of image size
- When texture
texturehas size 400 × 200,texture(0.5, 0.0, 0.5, 1.0)is the same astexture(200, 0, 200, 200)
TextureRegioncan be drawn just likeTexture- The cost of creating a
TextureRegionfrom an existingTextureis small, so it can be executed within the main loop without problems
# include <Siv3D.hpp>

void Main()
{
	Scene::SetBackground(ColorF{ 0.6, 0.8, 0.7 });

	const Texture texture{ U"example/windmill.png" };
	const Texture emoji{ U"🍎"_emoji };

	while (System::Update())
	{
		// Draw a portion of the image starting from (250, 100) with width 200 and height 150
		texture(250, 100, 200, 150).draw(40, 40);

		// Draw a portion from UV coordinate (0.5, 0.0) with width 0.5 and height 0.75
		emoji.uv(0.5, 0.0, 0.5, 0.75).drawAt(400, 300);
	}
}
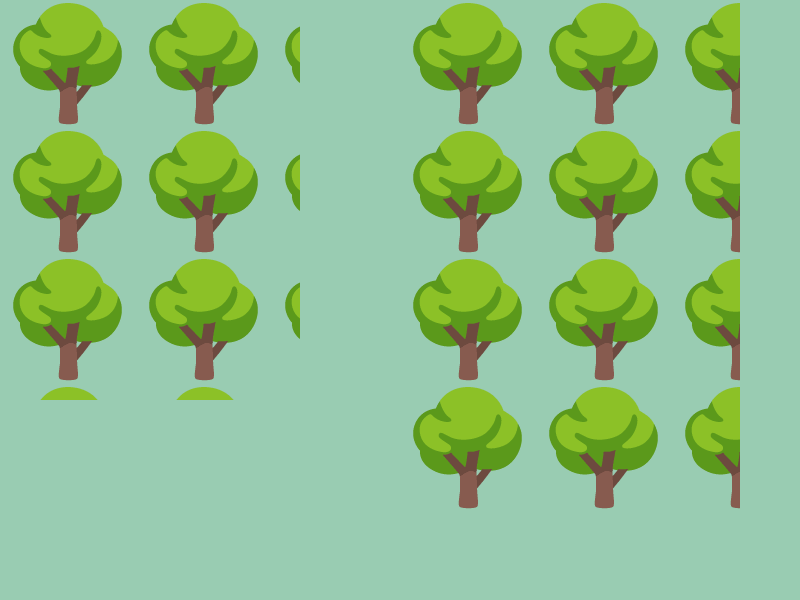
31.18 Tiled Drawing
31.18.1 Tiled Drawing
- To draw textures repeatedly in a tiled pattern, use the following member functions to create a
TextureRegionwith tiling applied, then draw with the appropriate texture address mode:
| Code | Description |
|---|---|
.mapped(width, height) |
Create a TextureRegion that tiles the texture with the specified width and height |
.mapped(size) |
Create a TextureRegion that tiles the texture with the specified size |
.repeated(X_count, Y_count) |
Create a TextureRegion that tiles the texture X times horizontally and Y times vertically |
TextureRegioncan be drawn just likeTexture- The cost of creating a
TextureRegionfrom an existingTextureis small, so it can be executed within the main loop without problems
31.18.2 Texture Address Mode
- The default texture address mode for 2D drawing is Clamp
- When trying to draw outside the texture range, that area is filled with the edge color of the texture
- When UV coordinates specify values smaller than 0.0 or larger than 1.0, they are treated as 0.0 and 1.0 respectively
- It's like a clock hand trying to point to 13 but stopping at 12
- Alternatively, when a clock hand tries to point to 13, it can continue past 12, return to 0, and become 1
- When UV coordinates specify values like
1.1,2.3, or-0.3, they are treated as0.1,0.3, and0.7respectively - This texture address mode is called Repeat
- The texture address mode can be changed by setting the sampler state as follows:
- See Tutorial 48 for more about sampler states
# include <Siv3D.hpp>

void Main()
{
	Scene::SetBackground(ColorF{ 0.6, 0.8, 0.7 });

	const Texture emoji{ U"🌳"_emoji };

	while (System::Update())
	{
		{
			// Set texture address mode to repeat
			const ScopedRenderStates2D sampler{ SamplerState::RepeatLinear };

			emoji.mapped(300, 400).draw();

			emoji.repeated(2.5, 4).draw(400, 0);
		}
	}
}
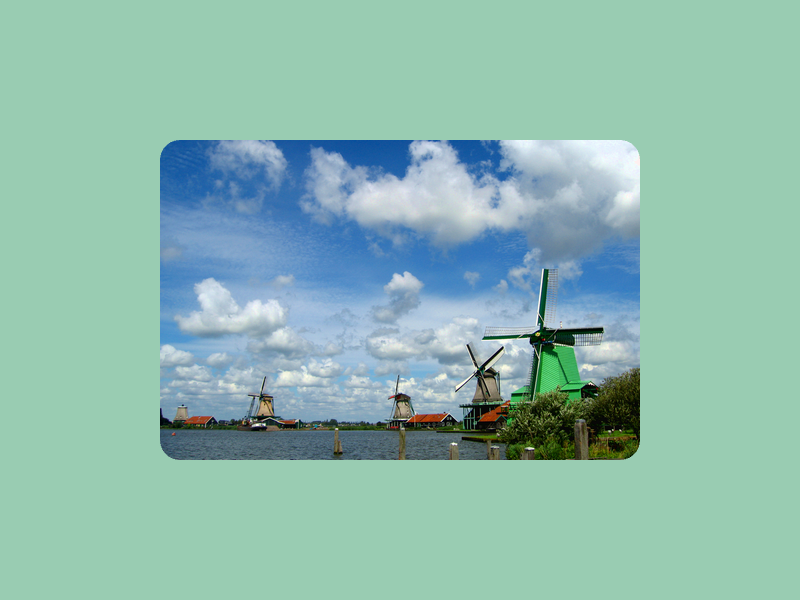
31.19 Rounded Corner Drawing
- To draw a texture with rounded corners, use the following member function to create a
TexturedRoundRectwith rounded corners:
| Code | Description |
|---|---|
.rounded(radius) |
Create a TexturedRoundRect with the texture's corners rounded by radius |
TexturedRoundRectcan be drawn likeTexture- The cost of creating a
TexturedRoundRectfrom an existingTextureis small, so it can be executed within the main loop without problems
# include <Siv3D.hpp>

void Main()
{
	Scene::SetBackground(ColorF{ 0.6, 0.8, 0.7 });

	const Texture texture{ U"example/windmill.png"};

	while (System::Update())
	{
		texture.rounded(20).drawAt(400, 300);
	}
}
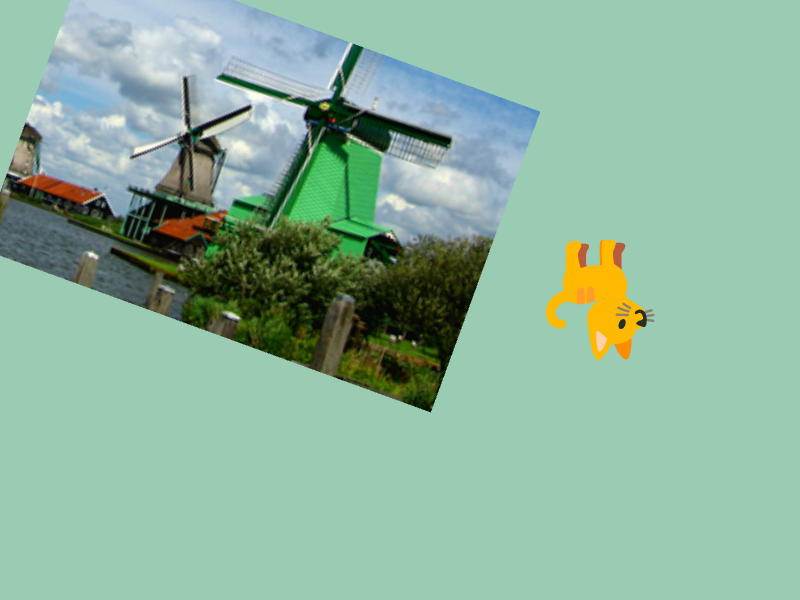
31.20 Combining Operations
TextureRegionhas member functions for the same operations asTexture, allowing you to combine multiple additional operations to draw textures- For example, you can cut out a texture with
(x, y, w, h), scale it with.scaled(), and then rotate it with.rotated()
- For example, you can cut out a texture with
TexturedQuaddoes not have member functions for applying additional operations
| Operation | Return Value | Texture |
TextureRegion |
TexturedQuad |
|---|---|---|---|---|
.scaled() |
TextureRegion |
✅ | ✅ | ❌ |
.resized() |
TextureRegion |
✅ | ✅ | ❌ |
.fitted() |
TextureRegion |
✅ | ✅ | ❌ |
.rotated() |
TexturedQuad |
✅ | ✅ | ❌ |
.rotatedAt() |
TexturedQuad |
✅ | ✅ | ❌ |
.flipped() |
TextureRegion |
✅ | ✅ | ❌ |
.mirrored() |
TextureRegion |
✅ | ✅ | ❌ |
(x, y, w, h) |
TextureRegion |
✅ | ❌ | ❌ |
.uv(u, v, w, h) |
TextureRegion |
✅ | ❌ | ❌ |
.mapped() |
TextureRegion |
✅ | ❌ | ❌ |
.repeated() |
TextureRegion |
✅ | ❌ | ❌ |
.rounded() |
TexturedRoundRect |
✅ | ✅ | ❌ |
# include <Siv3D.hpp>

void Main()
{
	Scene::SetBackground(ColorF{ 0.6, 0.8, 0.7 });

	const Texture texture{ U"example/windmill.png" };
	const Texture emoji{ U"🐈"_emoji };

	while (System::Update())
	{
		texture
			.uv(0.5, 0.5, 0.5, 0.5)
			.scaled(2.0)
			.rotated(20_deg)
			.draw(20, 20);

		emoji
			.mirrored()
			.flipped()
			.drawAt(600, 300);
	}
}
31.21 Drawing Fitted to Shape
- You can apply all or part of a texture to
Rect,RectF,Circle,Quad, orRoundRectand draw it - Use the following member functions to create objects that fit the shape:
| Code | Description |
|---|---|
rect(texture) |
Create a TexturedQuad by applying a texture (Texture or TextureRegion) to a rectangle (Rect or RectF) |
circle(texture) |
Create a TexturedCircle by applying a texture (Texture or TextureRegion) to a Circle |
quad(texture) |
Create a TexturedQuad by applying a texture (Texture or TextureRegion) to a Quad |
roundRect(texture) |
Create a TexturedRoundRect by applying a texture (Texture or TextureRegion) to a rounded rectangle (RoundRect) |
TexturedQuad,TexturedCircle, andTexturedRoundRectcan be drawn likeTexture- The cost of creating
TexturedQuad,TexturedCircle, andTexturedRoundRectfrom an existingTextureis small, so it can be executed within the main loop without problems

# include <Siv3D.hpp>

void Main()
{
	Scene::SetBackground(ColorF{ 0.6, 0.8, 0.7 });

	const Texture texture1{ U"example/windmill.png", TextureDesc::Mipped };
	const Texture texture2{ U"example/siv3d-kun.png", TextureDesc::Mipped };

	const Rect rect{ 430, 50, 100, 100 };
	const Circle circle{ 480, 240, 50 };
	const RoundRect roundRect{ 430, 330, 100, 100, 25 };

	while (System::Update())
	{
		Rect{ 50, 50, 350, 400 }(texture1).draw();

		rect
			.drawShadow(Vec2{ 2, 2 }, 12, 1)
			.draw(HSV{ 0, 0.5, 1.0 });
		rect(texture2(90, 3, 110, 110)).draw();

		circle
			.drawShadow(Vec2{ 2, 2 }, 12, 1)
			.draw(HSV{ 240, 0.5, 1.0 });
		circle(texture2(90, 3, 110, 110)).draw();

		roundRect
			.drawShadow(Vec2{ 2, 2 }, 12, 1)
			.draw(HSV{ 120, 0.5, 1.0 });
		roundRect(texture2(90, 3, 110, 110)).draw();
	}
}
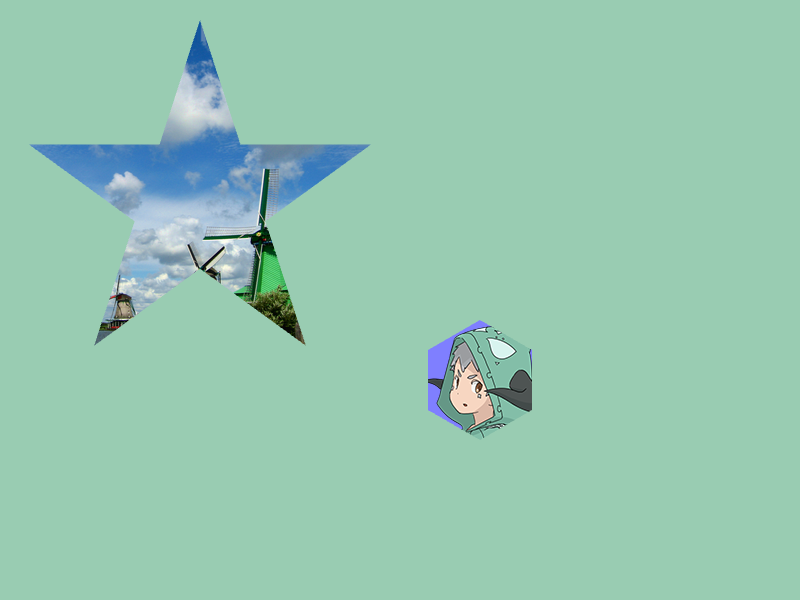
31.22 Drawing Fitted to Polygon
- When applying a texture to a
Polygon, use functions like the following to create aBuffer2Dfrom thePolygon, then use theBuffer2Ddrawing function to draw the texture:
| Code | Description |
| polygon.toBuffer2D(offset, size) | Create a Buffer2D that arranges textures of size size with offset as the origin |
| polygon.toBuffer2D(Arg::center = offset, size) | Create a Buffer2D that arranges textures of size size with offset as the center |
offsetcontrols where the texture is applied in screen coordinatessizeis the size of the texture to apply- If
sizeis smaller than the original texture size, the texture is reduced; if larger, it's enlarged
- If
- Creating a
Buffer2Dhas a small cost, so if possible, create it before the main loop and reuse the created object - With
Buffer2DobjectbandTexturet, draw the texture withb.draw(t)
# include <Siv3D.hpp>

void Main()
{
	Scene::SetBackground(ColorF{ 0.6, 0.8, 0.7 });

	const Texture texture1{ U"example/windmill.png", TextureDesc::Mipped };
	const Texture texture2{ U"example/siv3d-kun.png", TextureDesc::Mipped };

	const Polygon star = Shape2D::Star(180, Vec2{ 200, 200 });
	const Polygon hexagon = Shape2D::Hexagon(60, Vec2{ 480, 380 });

	while (System::Update())
	{
		const double xOffset = (200 + Periodic::Sine1_1(5s) * 80.0);

		// Apply texture to star with (xOffset, 200) as the image center and draw
		star.toBuffer2D(Arg::center(xOffset, 200), texture1.size())
			.draw(texture1);

		hexagon.draw(HSV{ 240, 0.5, 1.0 });

		// Apply texture to hexagon with (515, 562) as the image center and draw
		hexagon.toBuffer2D(Arg::center = Vec2{ 515, 562 }, texture2.size())
			.draw(texture2);
	}
}
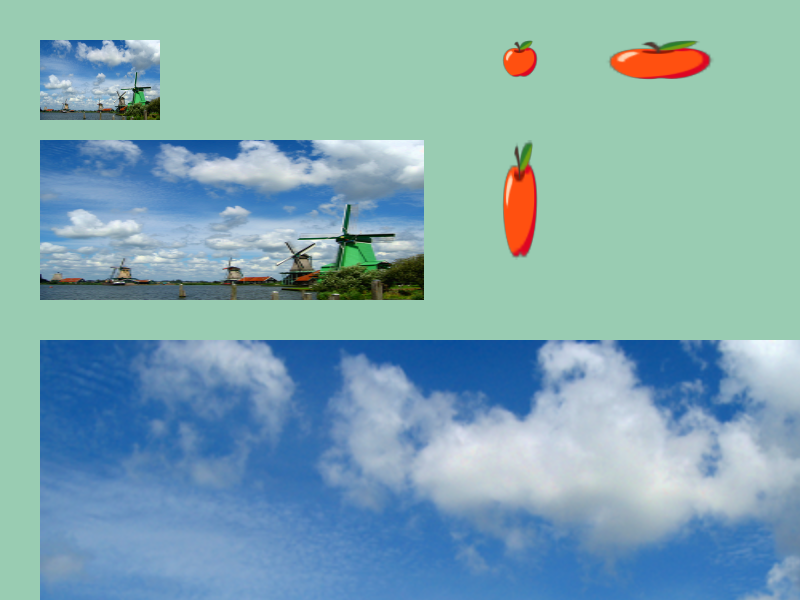
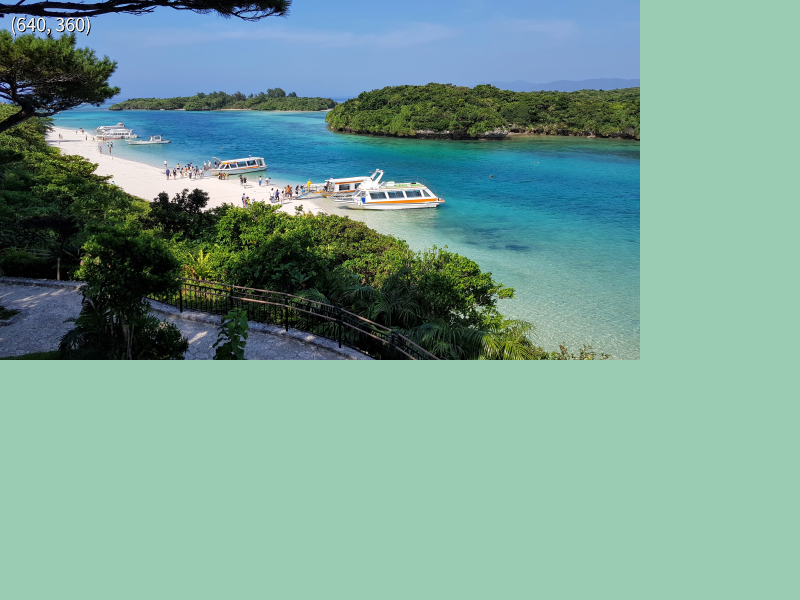
31.23 Pre-scaling Large Images
- Loading high-resolution image files can increase memory usage and degrade runtime performance
- In such cases, you can scale down the image before creating a texture to save memory and improve drawing speed
- Load the image file into an
Image, scale it down with.scaled(), then create a texture from the resultingImage
# include <Siv3D.hpp>

void Main()
{
	Scene::SetBackground(ColorF{ 0.6, 0.8, 0.7 });

	// Create a texture by scaling the image down to 1/4
	const Texture texture{ Image{ U"example/bay.jpg"}.scaled(0.25) };

	Print << texture.size();

	while (System::Update())
	{
		texture.draw();
	}
}
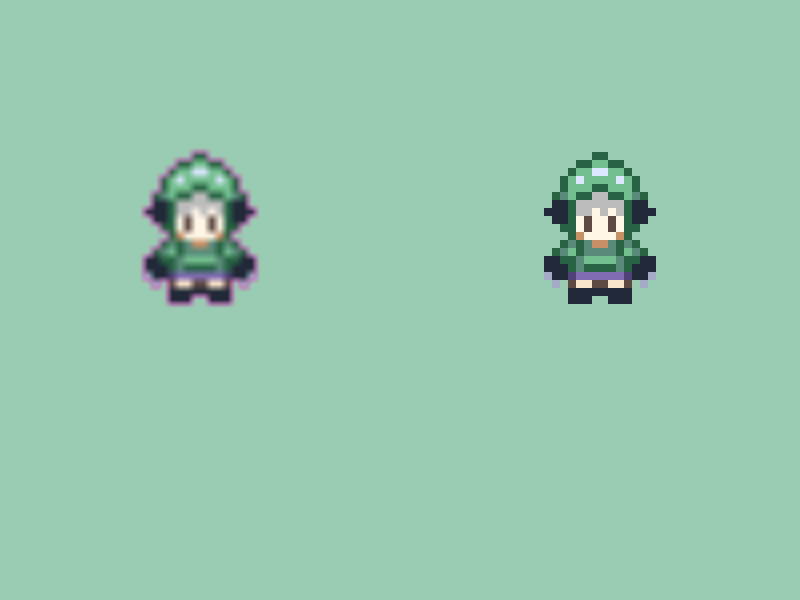
31.24 Texture Drawing Issues
31.24.1 Pixel Art Loses Pixelated Feel When Enlarged
- With the default sampler state, textures are smoothly interpolated when enlarged
- This causes pixel art to lose its pixelated feel and appear blurred when enlarged
- This can be resolved by changing the sampler state to
Nearest- See Tutorial 48 for more about sampler states
# include <Siv3D.hpp>

void Main()
{
	Scene::SetBackground(ColorF{ 0.6, 0.8, 0.7 });

	const Texture texture{ U"example/spritesheet/siv3d-kun-16.png" };

	while (System::Update())
	{
		{
			texture(20, 0, 20, 28).scaled(8).drawAt(200, 200);
		}

		{
			const ScopedRenderStates2D rs{ SamplerState::ClampNearest };

			texture(20, 0, 20, 28).scaled(8).drawAt(600, 200);
		}
	}
}
31.24.2 Colors from Surrounding Pixels Bleed in Map Tiles
- When extracting specific map tiles from images containing arranged map tiles and enlarging them or drawing at floating-point coordinates, colors from adjacent map tiles can bleed through
- This occurs because surrounding pixels are included during the interpolation process
- There are several countermeasures:
- Change the sampler state to
Nearest - Add 1-pixel padding around textures to minimize the impact of bleeding
- Draw at integer coordinates instead of floating-point coordinates
- Use
Texture2DArray(a feature available from Siv3D v0.8) to treat each map tile as an independent texture
- Change the sampler state to
31.24.3 Images Surrounded by Transparency Show Black Outlines When Enlarged
- When enlarging images surrounded by transparent pixels, like emojis, the surrounding black can bleed through
- There are several countermeasures:
- Change the sampler state to
Nearest- See Tutorial 48 for more about sampler states
- Use premultiplied alpha rendering
- Premultiplied alpha rendering will be supported as standard in Siv3D v0.8. The current version requires code like the following:
- Change the sampler state to

# include <Siv3D.hpp>

Image PremultiplyAlpha(Image image)
{
	Color* p = image.data();
	const Color* const pEnd = (p + image.num_pixels());

	while (p != pEnd)
	{
		p->r = static_cast<uint8>((static_cast<uint16>(p->r) * p->a) / 255);
		p->g = static_cast<uint8>((static_cast<uint16>(p->g) * p->a) / 255);
		p->b = static_cast<uint8>((static_cast<uint16>(p->b) * p->a) / 255);
		++p;
	}

	return image;
}

void Main()
{
	Scene::SetBackground(ColorF{ 0.6, 0.8, 0.7 });

	const Texture emoji1{ U"⛄"_emoji };
	const Texture emoji2{ PremultiplyAlpha(Image{ U"⛄"_emoji }) };

	while (System::Update())
	{
		{
			emoji1.scaled(3).drawAt(200, 300);
		}

		// Premultiplied alpha rendering
		{
			const ScopedRenderStates2D rs{ BlendState::Premultiplied };

			emoji2.scaled(3).drawAt(600, 300);
		}
	}
}