63. Image Processing
Learn about functionality for performing image processing and methods for displaying the results in scenes.
63.1 Overview of Image Processing
- Image data loaded into the
Textureclass is placed in GPU memory, so C++ programs cannot access the image contents - On the other hand, image data loaded (or created) with the
Imageclass is placed in main memory, so C++ programs can easily access the contents likeArrayorGrid Imagedoes not have functionality to draw itself to scenes; you need to createTextureorDynamicTexture(63.18) fromImageand draw it as a texture
| Image | DynamicTexture | Texture | |
|---|---|---|---|
| Data storage location | Main memory | GPU memory | GPU memory |
| Content updates | ✅ | ✅ Use .fill() |
|
| Drawing | ✅ | ✅ | |
| CPU access | ✅ | ||
| GPU (shader) access | ✅ | ✅ |
63.2 Image Class Basics
- Use the
Imageclass when handling image data - The
Imageclass handles image data with an interface likeGrid<Color>Image image{ int32 width, int32 height, color }creates an image of the specified sizeImage image{ Size width_and_height, color }creates an image of the specified sizeimage[y][x]accesses the pixel at(x, y)image[pos]accesses the pixel at(pos.x, pos.y)
- The
Colortype, unlike theColorFtype, is a 4-byte structure that holds each r, g, b, a color asuint8type Color⇔ColorFcan be converted to each other
- The following sample code creates a white image of size 400 x 300 and fills the top-left 120 x 60 area with blue
- It creates a texture from that image and draws it to the scene

# include <Siv3D.hpp>

void Main()
{
	Scene::SetBackground(ColorF{ 0.6, 0.8, 0.7 });

	Image image{ Size{ 400 ,300 }, Palette::White };

	for (int32 y = 0; y < 60; ++y)
	{
		for (int32 x = 0; x < 120; ++x)
		{
			image[y][x] = Color{ 0, 127, 255 };
		}
	}

	const Texture texture{ image };

	while (System::Update())
	{
		texture.draw();
	}
}
63.3 Loading Image Files
- To create an
Imagefrom an image file, useImage{ file_path } - The file path uses relative paths based on the folder containing the executable (the
Appfolder during development) or absolute paths - See Tutorial 31.4 for supported image formats
- The following sample displays the pixel color when you select any position in the image with the mouse cursor
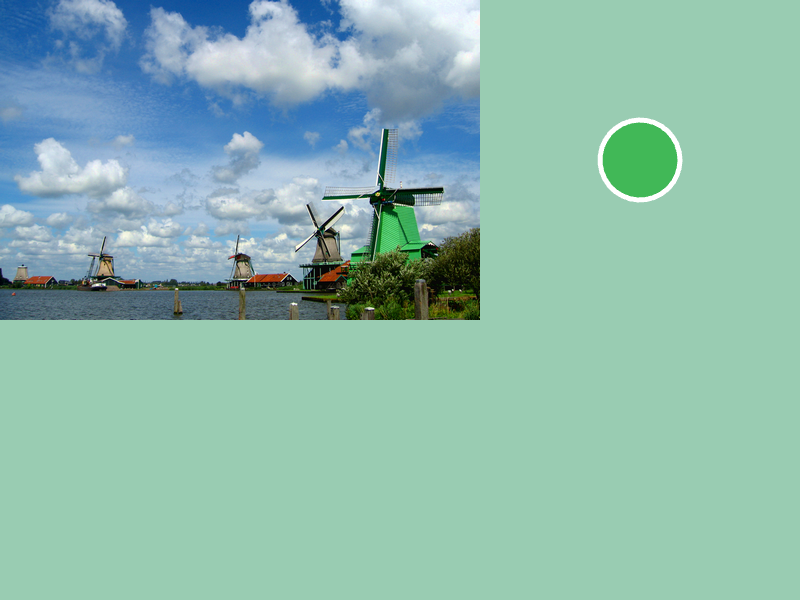
# include <Siv3D.hpp>

void Main()
{
	Scene::SetBackground(ColorF{ 0.6, 0.8, 0.7 });

	const Image image{ U"example/windmill.png" };

	const Texture texture{ image };

	while (System::Update())
	{
		texture.draw();

		const Point pos = Cursor::Pos();

		if (InRange(pos.x, 0, (image.width() - 1))
			&& InRange(pos.y, 0, (image.height() - 1)))
		{
			const Color color = image[pos];
			Circle{ 640, 160, 40 }.draw(color).drawFrame(5);
		}
	}
}
63.4 Emoji and Icons
- Like
Texture, you can createImagefrom emoji and icons Image{ U"emoji"_emoji }creates image data from emoji- You can check the emoji list at Emojipedia: Google Noto Color Emoji
Image{ 0xicon_number_icon, size }creates a texture from an icon- Icon numbers are hexadecimal codes from Material Design Icons or Font Awesome
# include <Siv3D.hpp>

void Main()
{
	{
		const Image image{ U"🍎"_emoji };

		// Save the image
		image.save(U"apple.png");
	}

	{
		const Image image{ 0xF0493_icon, 100 };

		// Save the image
		image.save(U"icon.png");
	}

	while (System::Update())
	{

	}
}
63.5 Image Size
- The width of image data (pixels) can be obtained with
.width(). The return value isint32type - The height of image data (pixels) can be obtained with
.height(). The return value isint32type - To get width and height simultaneously, use
.size(). The return value isSize(Point) type - You can access all pixels in an
Imagewith loops like the following:
# include <Siv3D.hpp>

void Main()
{
	Image image{ U"example/windmill.png" };

	Print << image.width();
	Print << image.height();
	Print << image.size();

	while (System::Update())
	{

	}
}
63.6 Memory Conservation
- When creating a
Texturefrom anImage, the image data is copied, so theImagebecomes unnecessary after texture creation - In the following code, the unnecessary
imagecontinues to consume memory during the main loop

# include <Siv3D.hpp>

void Main()
{
	Scene::SetBackground(ColorF{ 0.6, 0.8, 0.7 });

	Image image{ Size{ 400, 300 } };

	for (int32 y = 0; y < image.height(); ++y)
	{
		for (int32 x = 0; x < image.width(); ++x)
		{
			image[y][x] = ColorF{ (y / (image.height() - 1.0)), (x / (image.width() - 1.0)), 1.0 };
		}
	}

	const Texture texture{ image };

	while (System::Update())
	{
		texture.draw();
	}
}
- You can explicitly release the image data and consumed memory with
Image's.release(), making theImageempty
# include <Siv3D.hpp>

void Main()
{
	Scene::SetBackground(ColorF{ 0.6, 0.8, 0.7 });

	Image image{ Size{ 400, 300 } };

	for (int32 y = 0; y < image.height(); ++y)
	{
		for (int32 x = 0; x < image.width(); ++x)
		{
			image[y][x] = ColorF{ (y / (image.height() - 1.0)), (x / (image.width() - 1.0)), 1.0 };
		}
	}

	const Texture texture{ image };

	// Release image data
	image.release();

	while (System::Update())
	{
		texture.draw();
	}
}
- You can also design so that the
Imageis released immediately by passing the return value of a function that returns anImagedirectly to theTextureconstructor
# include <Siv3D.hpp>

Image MakeImage()
{
	Image image{ Size{ 400, 300 } };

	for (int32 y = 0; y < image.height(); ++y)
	{
		for (int32 x = 0; x < image.width(); ++x)
		{
			image[y][x] = ColorF{ (y / (image.height() - 1.0)), (x / (image.width() - 1.0)), 1.0 };
		}
	}

	return image;
}

void Main()
{
	Scene::SetBackground(ColorF{ 0.6, 0.8, 0.7 });

	const Texture texture{ MakeImage() };

	while (System::Update())
	{
		texture.draw();
	}
}
63.7 Traversing All Pixels with Range-based for Loop
- Use range-based for loops to traverse image data elements
- Do not perform operations that change the target image size within the range-based for loop
# include <Siv3D.hpp>

void Main()
{
	Scene::SetBackground(ColorF{ 0.6, 0.8, 0.7 });

	Image image{ U"example/windmill.png" };

	// Set R component of all pixels to 0
	for (auto& pixel : image)
	{
		pixel.r = 0;
	}

	const Texture texture{ image };

	while (System::Update())
	{
		texture.draw();
	}
}
63.8 Fill
- To fill all image contents with a single color, use
.fill(color)

# include <Siv3D.hpp>

void Main()
{
	Scene::SetBackground(ColorF{ 0.6, 0.8, 0.7 });

	Image image{ U"example/windmill.png" };

	// Fill image with black
	image.fill(Color{ 0, 0, 0 });

	const Texture texture{ image };

	while (System::Update())
	{
		texture.draw();
	}
}
63.9 Saving Images
- To save image data as an image file, use
.save(path) - The image save format is automatically selected appropriately from the
pathextension- Usually PNG or JPEG format works well
# include <Siv3D.hpp>

void Main()
{
	const Image image{ U"example/windmill.png" };

	image.save(U"windmill.png");

	image.save(U"windmill.jpg");

	while (System::Update())
	{

	}
}
63.10 Saving Images (Dialog)
- To save image data as an image file with a dialog-specified filename, use
.saveWithDialog() - The image save format is selected based on the extension chosen in the dialog
# include <Siv3D.hpp>

void Main()
{
	const Image image{ U"example/windmill.png" };

	image.saveWithDialog();

	while (System::Update())
	{

	}
}
63.11 Image Scaling
.scaled(double scale)returns a newImagewith the image scaled by the specified ratio.scaled(Size size)returns a newImagewith the image scaled to the specified size- High-quality scaling is performed by default. Specifying
InterpolationAlgorithm::Nearestas the second argument performs scaling without filtering (nearest neighbor interpolation)
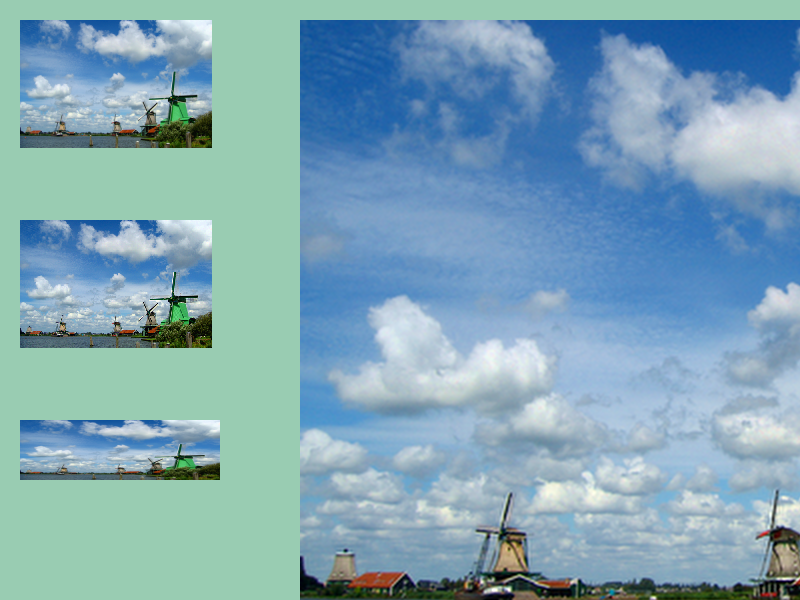
# include <Siv3D.hpp>

void Main()
{
	Scene::SetBackground(ColorF{ 0.6, 0.8, 0.7 });

	const Image image{ U"example/windmill.png" };
	const Texture texture1{ image.scaled(0.4) };
	const Texture texture2{ image.scaled(0.4, InterpolationAlgorithm::Nearest) };
	const Texture texture3{ image.scaled(Size{ 200, 60 })};
	const Texture texture4{ image.scaled(2.0) };

	while (System::Update())
	{
		texture1.draw(20, 20);
		texture2.draw(20, 220);
		texture3.draw(20, 420);
		texture4.draw(300, 20);
	}
}
63.12 Partial Image Copy
.clipped(x, y, w, h)returns a newImagethat copies the specified range of the image
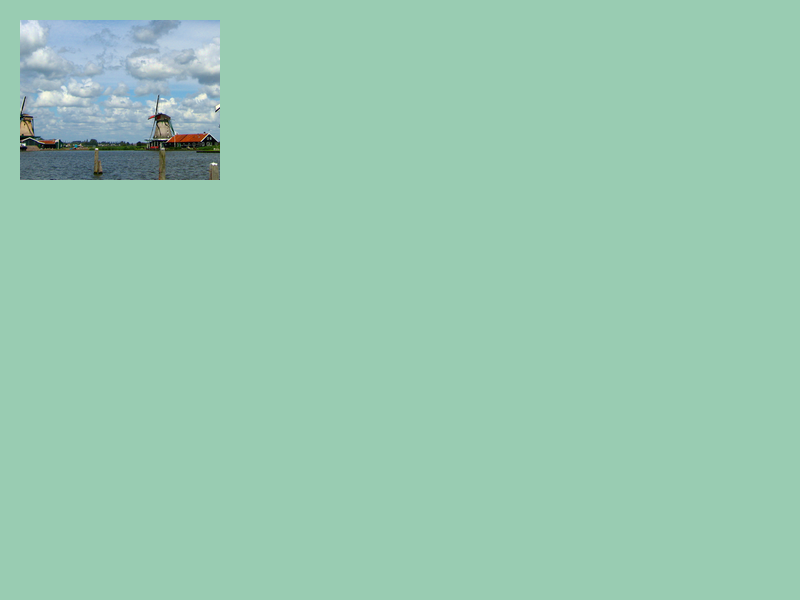
# include <Siv3D.hpp>

void Main()
{
	Scene::SetBackground(ColorF{ 0.6, 0.8, 0.7 });

	const Image image{ U"example/windmill.png" };

	const Texture texture{ image.clipped(100, 160, 200, 160) };

	while (System::Update())
	{
		texture.draw(20, 20);
	}
}
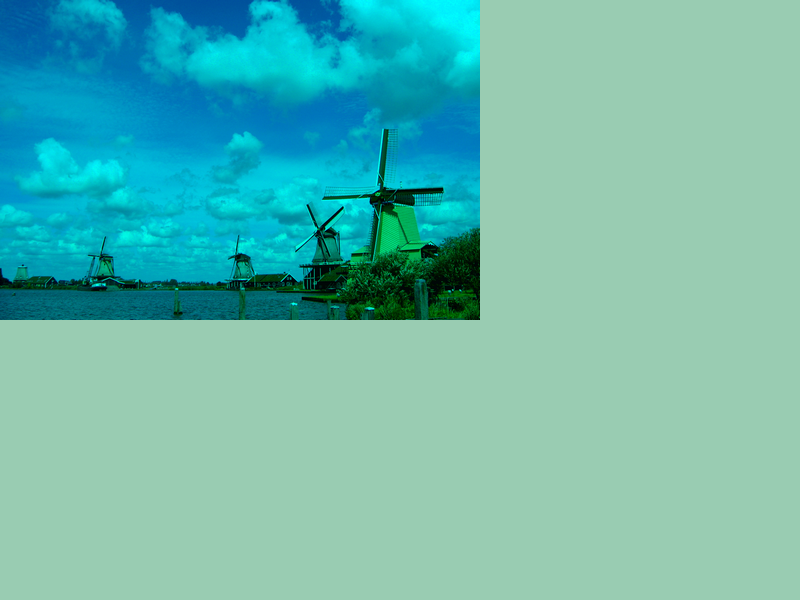
63.13 Image Processing
- Various image processing functions are provided
- There are two types: member functions that modify themselves and member functions that return the processed result as a new
Imagewithout modifying themselves
| Processing | Example result image | Member function that modifies self / Member function that returns result |
|---|---|---|
| Color inversion | 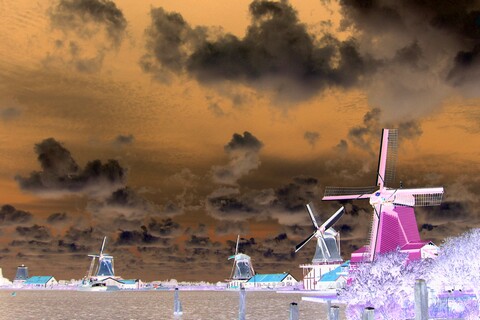 |
negate / negated |
| Grayscale conversion | 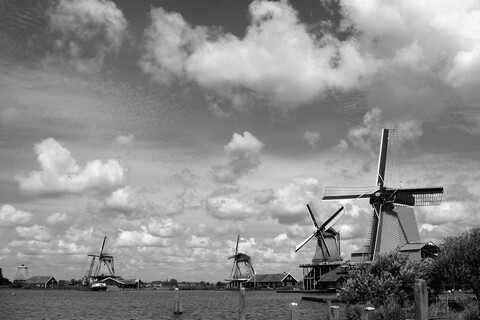 |
grayscale / grayscaled |
| Sepia color | 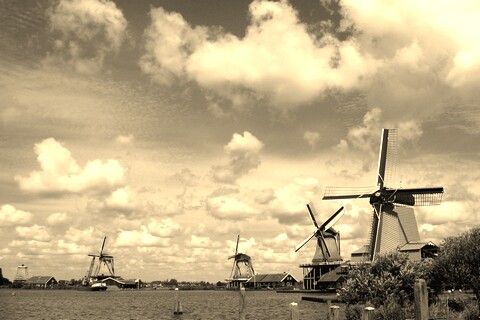 |
sepia / sepiaed |
| Posterize | 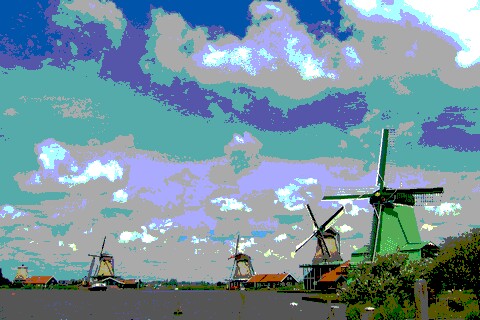 |
posterize / posterized |
| Brightness level change | 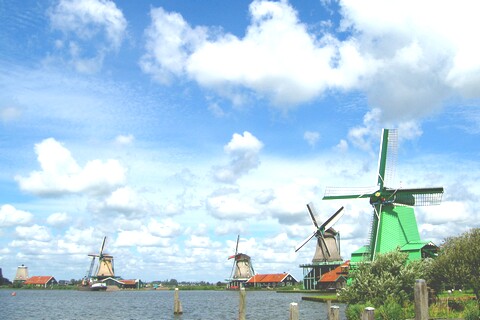 |
brighten / brightened |
| Horizontal flip |  |
mirror / mirrored |
| Vertical flip |  |
flip / flipped |
| 90° rotation | 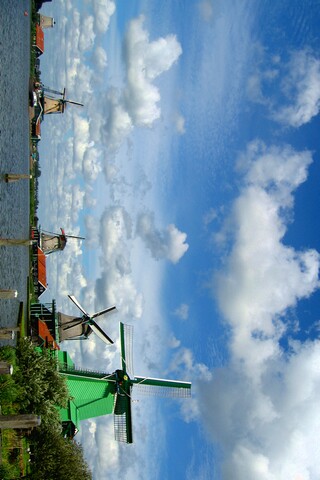 |
rotate90 / rotated90 |
| 180° rotation |  |
rotate180 / rotated180 |
| 270° rotation | 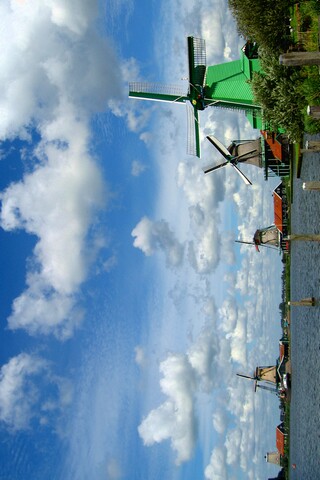 |
rotate270 / rotated270 |
| Gamma correction | 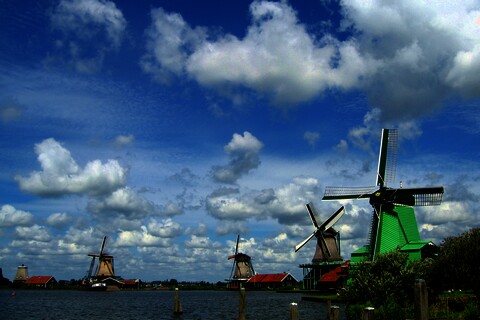 |
gammaCorrect / gammaCorrected |
| Binarization |  |
threshold / thresholded |
| Otsu's method binarization | 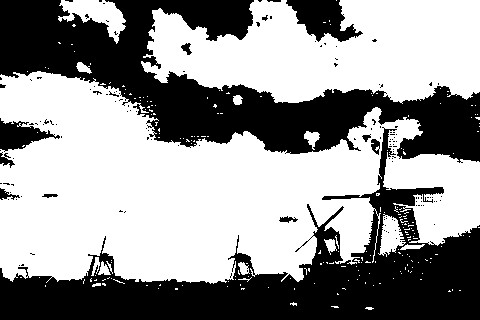 |
threshold_Otsu / thresholded_Otsu |
| Adaptive binarization | 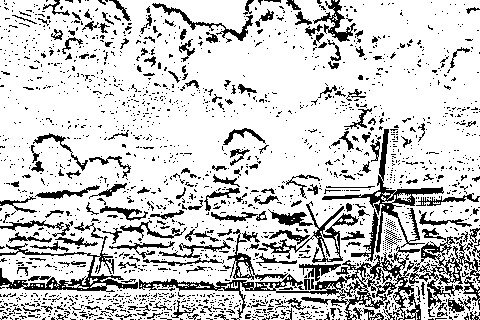 |
adaptiveThreshold / adaptiveThresholded |
| Mosaic | 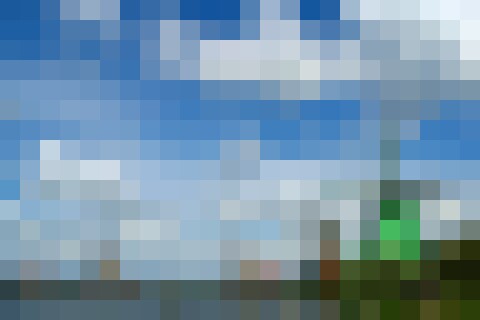 |
mosaic / mosaiced |
| Spread | 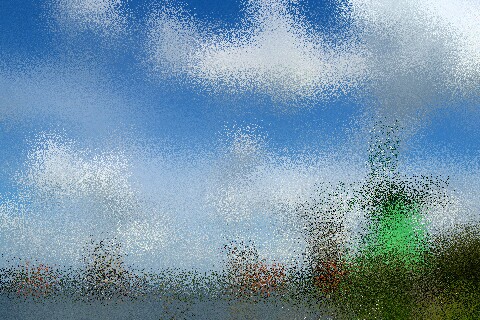 |
spread / spreaded |
| Blur | 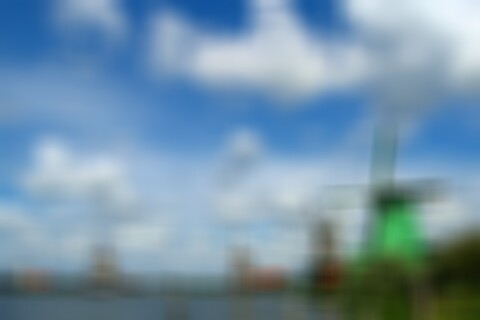 |
blur / blurred |
| Median blur | 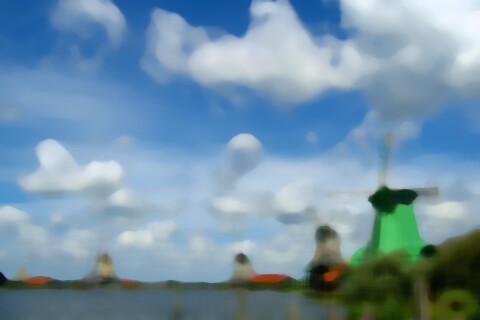 |
medianBlur / medianBlurred |
| Gaussian blur |  |
gaussianBlur / gaussianBlurred |
| Bilateral filter | 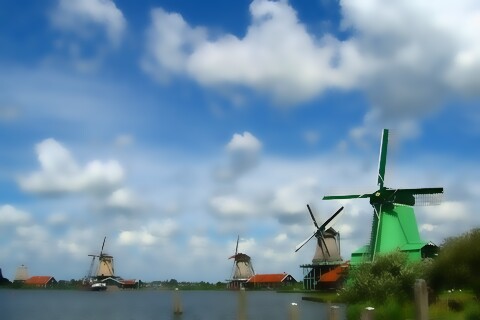 |
bilateralFilter / bilateralFiltered |
| Dilation |  |
dilate / dilated |
| Erosion |  |
erode / eroded |
| Add border around |  |
border / bordered |
| Arbitrary angle rotation |  |
None / rotated |
| Square crop | 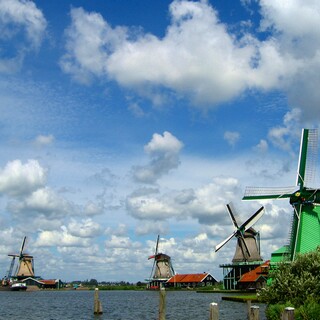 |
None / squareClipped |
# include <Siv3D.hpp>

void Main()
{
	Scene::SetBackground(ColorF{ 0.6, 0.8, 0.7 });

	const Image image{ U"example/windmill.png" };

	const Texture texture{ image.negated() };

	while (System::Update())
	{
		texture.draw(20, 20);
	}
}
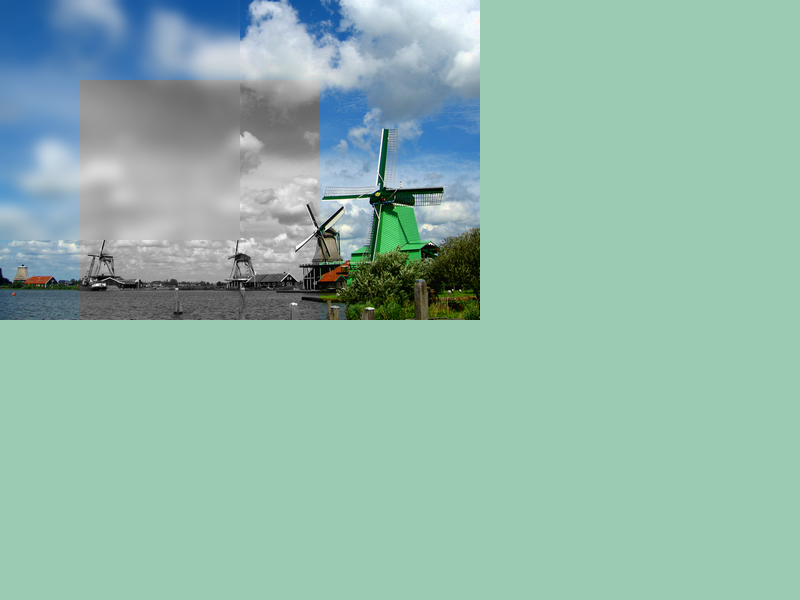
63.14 Partial Image Processing
- Some image processing functions can be applied only to a partial rectangular area of the image
image(x, y, w, h).gaussianBlur()applies Gaussian blur only to the area from(x, y)to(x + w, y + h)of the image
# include <Siv3D.hpp>

void Main()
{
	Scene::SetBackground(ColorF{ 0.6, 0.8, 0.7 });

	Image image{ U"example/windmill.png" };
	image(0, 0, 240, 240).gaussianBlur(20);
	image(80, 80, 240, 240).grayscale();

	const Texture texture{ image };

	while (System::Update())
	{
		texture.draw();
	}
}
63.15 Drawing Shapes
- Shapes like
Circle,Line,Rectcan be written toImageusing the member functions.paint()and.overwrite() .paint()blends colors according to alpha values.overwrite()writes the color specified in the argument as-is- Nothing is written to areas outside the image bounds
- Writing to
Imageis processed by CPU, so it has a larger cost than normal.draw()

# include <Siv3D.hpp>

void Main()
{
	Scene::SetBackground(ColorF{ 0.6, 0.8, 0.7 });

	Image image{ Size{ 600, 600 }, Palette::White };
	{
		Circle{ 100, 100, 100 }.overwrite(image, Palette::Orange);

		Rect{ 150, 150, 300, 200 }.paint(image, ColorF{ 0.0, 1.0, 0.5, 0.5 });

		Line{ 100, 400, 400, 200 }.overwrite(image, 10, Palette::Seagreen);

		// Draw line with antialiasing disabled
		Line{ 100, 500, 400, 300 }.overwrite(image, 10, Palette::Seagreen, Antialiased::No);

		Shape2D::Star(200, Vec2{ 480, 160 }).asPolygon().overwrite(image, Palette::Yellow);

		// Write transparent hole
		Rect{ 400, 400, 80 }.overwrite(image, ColorF{ 1.0, 0.0 });
	}

	const Texture texture{ image };

	while (System::Update())
	{
		texture.draw();
	}
}
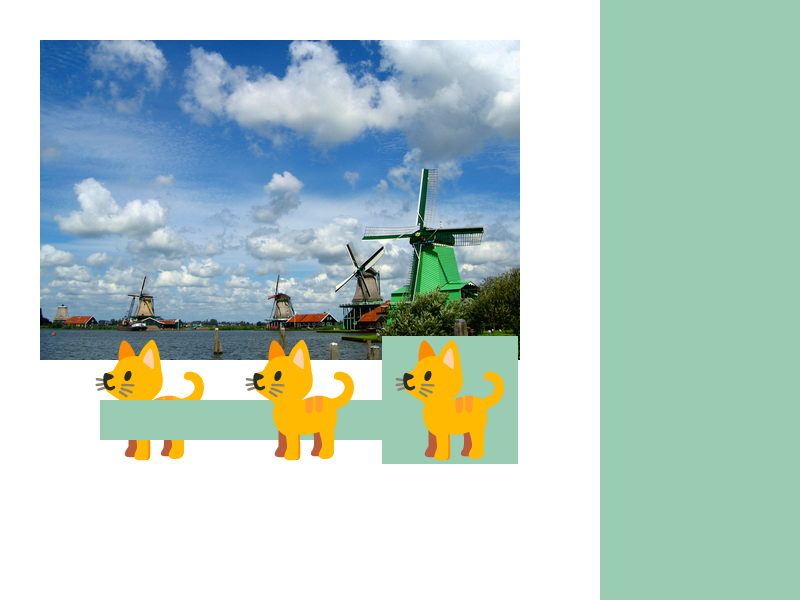
63.16 Drawing Images
- You can write
Imageor parts ofImageto anotherImage - You cannot make the write target yourself
- The member functions used for writing are as follows:
| Code | Alpha blending | Update write destination alpha value |
|---|---|---|
.paint().paintAt() |
✅ | |
.stamp().stampAt() |
✅ | ✅ Larger value |
.overwrite().overwriteAt() |
✅ |
- Writing to
Imageis processed by CPU, so it has a larger cost than normal.draw()
# include <Siv3D.hpp>

void Main()
{
	Scene::SetBackground(ColorF{ 0.6, 0.8, 0.7 });

	Image image{ Size{ 600, 600 }, Palette::White };

	const Image windmill{ U"example/windmill.png" };
	const Image emoji{ U"🐈"_emoji };

	windmill.overwrite(image, Point{ 40, 40 });

	// Difference between paint / stamp / overwrite for transparent pixels
	{
		Rect{ 100, 400, 400, 40 }.overwrite(image, Color{ 255, 0 });
		emoji.paintAt(image, Point{ 150, 400 });
		emoji.stampAt(image, Point{ 300, 400 });
		emoji.overwriteAt(image, Point{ 450, 400 });
	}

	const Texture texture{ image };

	while (System::Update())
	{
		texture.draw();
	}
}
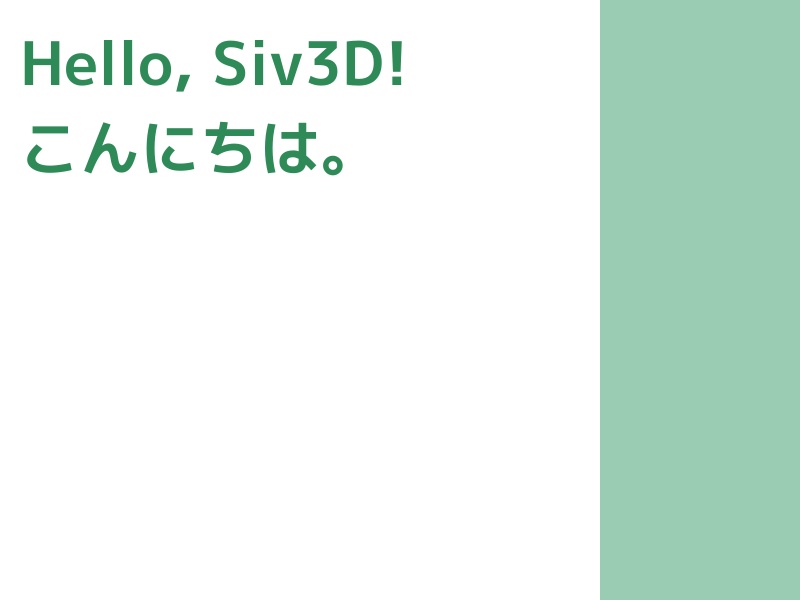
63.17 Drawing Text
- Get each character's image as
BitmapGlyphfromFontand write that image in the style of custom drawing (Tutorial 34.24) - Writing to
Imageis processed by CPU, so it has a larger cost than normal.draw()
# include <Siv3D.hpp>

void PaintGlyphs(Image& image, const Font& font, const String& text, const Vec2& basePos, const ColorF& color)
{
	Vec2 penPos{ basePos };

	for (const auto& ch : text)
	{
		if (ch == U'\n')
		{
			penPos.x = basePos.x;
			penPos.y += font.height();
			continue;
		}

		const BitmapGlyph bitmapGlyph = font.renderBitmap(ch);

		// Draw character texture at pen position plus character-specific offset
		bitmapGlyph.image.paint(image, (penPos + bitmapGlyph.getOffset()).asPoint(), color);

		// Advance pen X coordinate by character width
		penPos.x += bitmapGlyph.xAdvance;
	}
}

void Main()
{
	Scene::SetBackground(ColorF{ 0.6, 0.8, 0.7 });

	const Font font{ 60, Typeface::Bold };

	Image image{ Size{ 600, 600 }, Palette::White };

	PaintGlyphs(image, font, U"Hello, Siv3D!\nこんにちは。", Vec2{ 20, 20 }, Palette::Seagreen);

	const Texture texture{ image };

	while (System::Update())
	{
		texture.draw();
	}
}
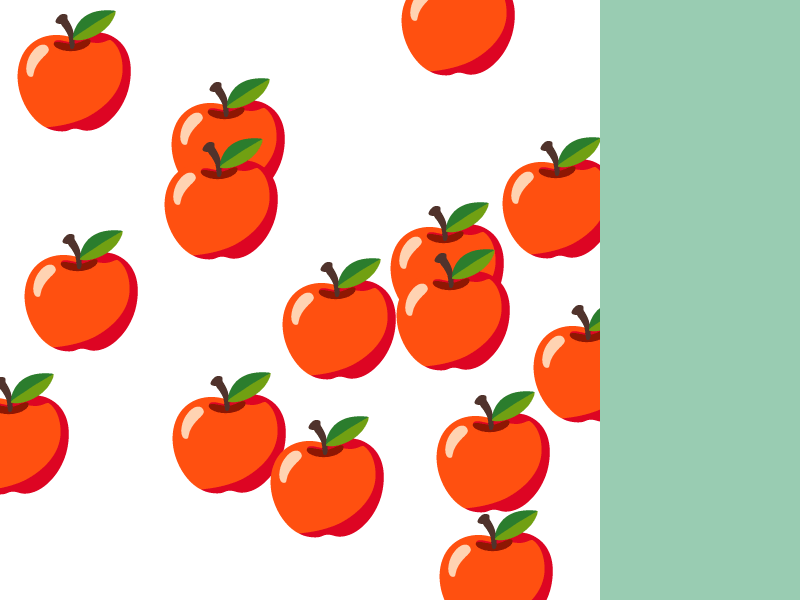
63.18 DynamicTexture
- There are cases where you want to frequently change the contents of an
Imageduring program execution and draw the results to the scene, like in a paint application - Creating a new
Textureby destroying the oldTextureevery time you update theImagecontents is inefficient - For such purposes,
DynamicTextureis appropriate DynamicTextureis aTexturewhose contents can be changed dynamically. In addition to normalTexturemember functions, it has the.fill(image)member function.fill()creates a new texture withimageif theDynamicTextureis empty, and replaces the contents withimageif it already has data- The vertical and horizontal sizes of the old and new image data must match
DynamicTexture's.fill()is more efficient than creating a newTexturebecause it only overwrites the already held data area- However, the cost of
.fill()is still large, so you need to avoid calling it unnecessarily - Depending on the use case, using
RenderTexture(Tutorial 52) might be more appropriate
# include <Siv3D.hpp>

void Main()
{
	Scene::SetBackground(ColorF{ 0.6, 0.8, 0.7 });
	const Image emoji{ U"🍎"_emoji };

	Image image{ Size{ 600, 600 }, Palette::White };
	DynamicTexture texture{ image };

	while (System::Update())
	{
		if (MouseL.down())
		{
			emoji.paintAt(image, Cursor::Pos());

			// Update DynamicTexture contents with Image
			texture.fill(image);
		}

		texture.draw();
	}
}
63.19 Paint Application (1)
- You can create a paint application with code like this:
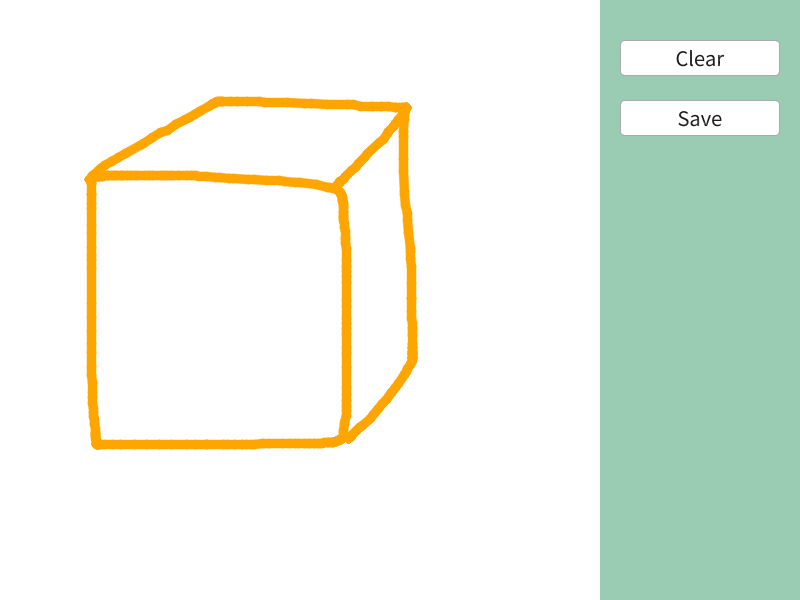
# include <Siv3D.hpp>

void Main()
{
	Scene::SetBackground(ColorF{ 0.6, 0.8, 0.7 });

	constexpr Size CanvasSize{ 600, 600 };
	constexpr int32 PenThickness = 8;
	constexpr Color PenColor = Palette::Orange;

	Image image{ CanvasSize, Palette::White };
	DynamicTexture texture{ image };

	while (System::Update())
	{
		if (MouseL.pressed())
		{
			// The start point of the line to write is the mouse cursor coordinate from the previous frame
			// (To prevent coordinate jumps during touch operation, use current mouse cursor coordinate for the first time)
			const Point from = (MouseL.down() ? Cursor::Pos() : Cursor::PreviousPos());

			// The end point of the line to write is the current mouse cursor coordinate
			const Point to = Cursor::Pos();

			Line{ from, to }.overwrite(image, PenThickness, PenColor);
			texture.fill(image);
		}

		if (SimpleGUI::Button(U"Clear", Vec2{ 620, 40 }, 160))
		{
			image.fill(Palette::White);
			texture.fill(image);
		}

		if (SimpleGUI::Button(U"Save", Vec2{ 620, 100 }, 160))
		{
			image.saveWithDialog();
		}

		texture.draw();
	}
}
63.20 Paint Application (2)
- Create an advanced paint application
.floodFill()recursively fills the same color area from the specified coordinates
# include <Siv3D.hpp>

void Main()
{
	Scene::SetBackground(ColorF{ 0.6, 0.8, 0.7 });

	constexpr Size CanvasSize{ 600, 600 };
	double penThickness = 8;
	HSV penColor = Palette::Orange;
	size_t toolIndex = 0;

	Image image{ CanvasSize, Palette::White };
	DynamicTexture texture{ image };

	while (System::Update())
	{
		if (toolIndex == 0) // Pen/Eraser
		{
			if (MouseL.pressed()) // Pen
			{
				const Point from = (MouseL.down() ? Cursor::Pos() : Cursor::PreviousPos());
				const Point to = Cursor::Pos();

				Line{ from, to }.overwrite(image, static_cast<int32>(penThickness), penColor, Antialiased::No);
				texture.fill(image);
			}
			else if (MouseR.pressed()) // Eraser
			{
				const Point from = (MouseR.down() ? Cursor::Pos() : Cursor::PreviousPos());
				const Point to = Cursor::Pos();

				Line{ from, to }.overwrite(image, static_cast<int32>(penThickness), Palette::White, Antialiased::No);
				texture.fill(image);
			}
		}
		else if (toolIndex == 1) // Fill
		{
			if (MouseL.down()) // Fill with current color
			{
				image.floodFill(Cursor::Pos(), penColor);
				texture.fill(image);
			}
			else if (MouseR.down()) // Fill with white
			{
				image.floodFill(Cursor::Pos(), Palette::White);
				texture.fill(image);
			}
		}
		else // Color picker
		{
			if (MouseL.down())
			{
				const Point cursorPos = Cursor::Pos();

				if (InRange(cursorPos.x, 0, (image.width() - 1))
					&& InRange(cursorPos.y, 0, (image.height() - 1)))
				{
					penColor = image[cursorPos];
				}
			}
		}

		if (SimpleGUI::Button(U"Clear", Vec2{ 640, 40 }, 120))
		{
			image.fill(Palette::White);
			texture.fill(image);
		}

		if (SimpleGUI::Button(U"Save", Vec2{ 640, 80 }, 120))
		{
			image.saveWithDialog();
		}

		// Color selection
		SimpleGUI::ColorPicker(penColor, Vec2{ 620, 160 });

		// Pen thickness
		SimpleGUI::Slider(penThickness, 1.0, 30.0, Vec2{ 620, 300 }, 160);

		// Tool selection
		SimpleGUI::RadioButtons(toolIndex, { U"Draw", U"Fill", U"Pick" }, Vec2{ 620, 360 });

		texture.draw();
	}
}
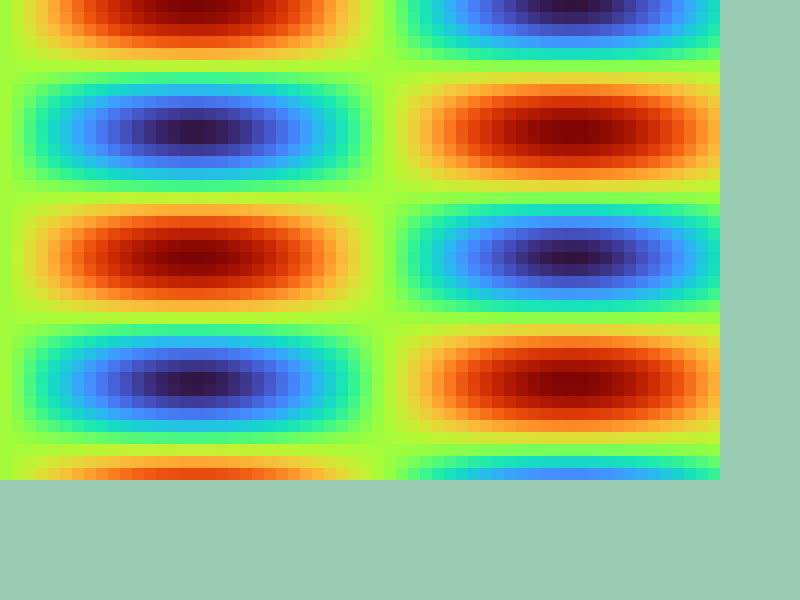
63.21 Grid Visualization
- When visualizing a
Gridwith many elements, creating anImagewith the same number of elements as width × height and drawing it as a single texture is more efficient than drawing all width × height cells withRect- For example, when drawing a 60 x 40 grid with
Rect, 2400.draw()calls are needed, but when drawing as a texture, only 1.draw()call is needed
- For example, when drawing a 60 x 40 grid with
- If contents are updated frequently, using
DynamicTextureis good
# include <Siv3D.hpp>

Image ToImage(const Grid<double>& grid)
{
	Image image{ grid.size(), Palette::White };

	for (int32 y = 0; y < grid.height(); ++y)
	{
		for (int32 x = 0; x < grid.width(); ++x)
		{
			image[y][x] = Colormap01(grid[y][x]);
		}
	}

	return image;
}

void Main()
{
	Scene::SetBackground(ColorF{ 0.6, 0.8, 0.7 });

	Grid<double> grid(Size{ 60, 40 });

	for (int32 y = 0; y < grid.height(); ++y)
	{
		for (int32 x = 0; x < grid.width(); ++x)
		{
			grid[y][x] = (std::sin(x * 0.1) * std::cos(y * 0.3) * 0.5 + 0.5);
		}
	}

	const Texture texture{ ToImage(grid) };

	while (System::Update())
	{
		{
			const ScopedRenderStates2D states{ SamplerState::ClampNearest };

			texture.scaled(12).draw();
		}
	}
}