34. マウス入力
マウスによる入力を処理する方法を学びます。
34.1 マウスカーソルの座標を取得する
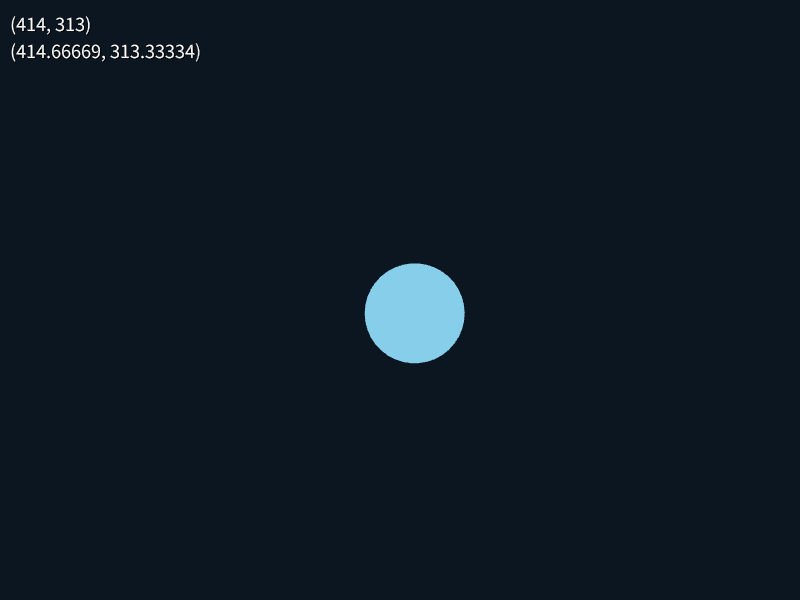
マウスカーソルの座標は Cursor::Pos() を使うと Point 型で取得できます。シーンが実ウィンドウサイズと異なる (チュートリアル 32. 参照) 場合、Cursor::PosF() を使うと Vec2 型で小数点数以下の座標も取得できます。
Cursor::Pos() で取得できるマウスカーソル座標は、最後の System::Update() の呼び出し時点での座標であるため、実際画面に見えている最新のマウスカーソルの位置よりも古い座標を示す場合があります。
# include <Siv3D.hpp>

void Main()
{
	while (System::Update())
	{
		ClearPrint();
		Print << Cursor::Pos();
		Print << Cursor::PosF();
		Circle{ Cursor::PosF(), 50 }.draw(Palette::Skyblue);
	}
}
34.2 マウスカーソルの移動量を取得する
1 フレーム前のマウスカーソル座標は Cursor::PreviousPos() / Cursor::PreviousPosF() で取得できます。1 フレーム前からのマウスカーソルの移動量は Cursor::Delta() / Cursor::DeltaF() で取得できます。
Cursor::Delta() == (Cursor::Pos() - Cursor::PreviousPos()) です。
# include <Siv3D.hpp>

void Main()
{
	// 円をつかんでいるか
	bool grab = false;

	Circle circle{ Scene::Center(), 50 };

	while (System::Update())
	{
		if (grab)
		{
			// 移動量分だけ円を移動させる
			circle.moveBy(Cursor::Delta());
		}

		if (circle.leftClicked()) // 円を左クリックしたら
		{
			grab = true;
		}
		else if (MouseL.up()) // マウスの左ボタンが離されたら
		{
			grab = false;
		}

		if (grab || circle.mouseOver())
		{
			Cursor::RequestStyle(CursorStyle::Hand);
		}

		circle.draw(Palette::Skyblue);
	}
}
34.3 マウスカーソルのスクリーン座標を取得する
マウスカーソルがスクリーン座標でデスクトップ上のどの位置にあるかを取得するには Cursor::ScreenPos() を使います。

# include <Siv3D.hpp>

void Main()
{
	while (System::Update())
	{
		ClearPrint();

		// スクリーン座標におけるマウスカーソル座標
		Print << Cursor::ScreenPos();
	}
}
34.4 マウスのボタンの入力状態を調べる
マウスのボタンには、以下の Input 型の値が割り当てられています。
| 定数 | 対応するボタン |
|---|---|
MouseL |
左ボタン |
MouseR |
右ボタン |
MouseM |
中央ボタン |
MouseX1 |
拡張ボタン 1 |
MouseX2 |
拡張ボタン 2 |
MouseX3 |
拡張ボタン 3 |
MouseX4 |
拡張ボタン 4 |
MouseX5 |
拡張ボタン 5 |
チュートリアル 33. のキーボードと同様に、押した瞬間であるかを .down(), 押し続けているかを .pressed(), 離した瞬間であるかを .up() を使って bool 値で取得できます。
| 関数 | 押していないとき | 押した瞬間 | 押し続けている | 離した瞬間 | 離し続けている |
|---|---|---|---|---|---|
.down() |
false | ✔ true | false | false | false |
.pressed() |
false | ✔ true | ✔ true | false | false |
.up() |
false | false | false | ✔ true | false |
# include <Siv3D.hpp>

void Main()
{
	while (System::Update())
	{
		ClearPrint();
		Print << MouseL.pressed();
		Print << MouseM.pressed();
		Print << MouseR.pressed();
	}
}
34.5 マウスのボタン入力をキャンセルする
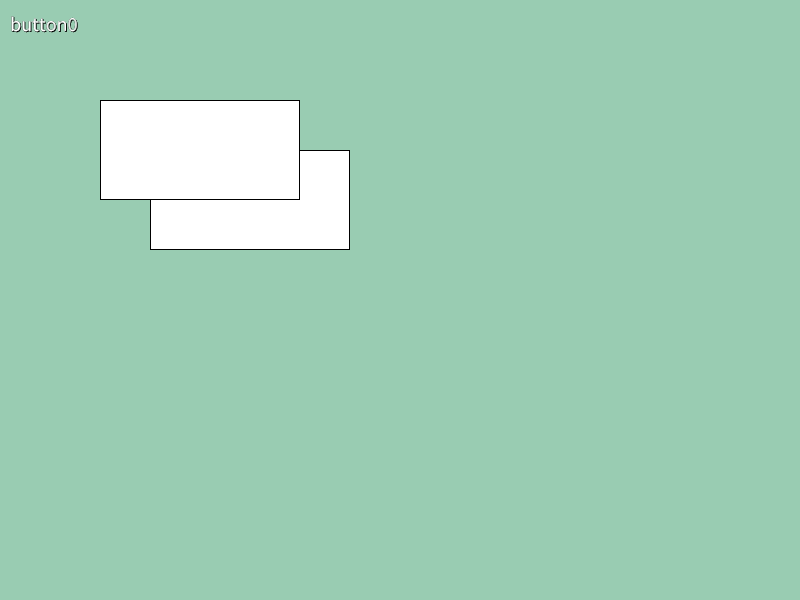
現在のフレーム内で、以降のマウスのボタンの入力をキャンセルするには、Input のメンバ関数 .clearInput() を呼びます。ボタンなどの UI が重なっているときに、背面に入力が伝わらないようにするときなどに使います。
MouseL と MouseR を同時にキャンセルする場合は Mouse::ClearLRInput() が使えます。
# include <Siv3D.hpp>

class MyButton
{
public:

	MyButton() = default;

	explicit MyButton(const Rect& rect)
		: m_rect{ rect } {}

	bool update() const
	{
		if (m_rect.leftClicked())
		{
			MouseL.clearInput();
			return true;
		}
	}

	void draw() const
	{
		if (m_rect.mouseOver())
		{
			Cursor::RequestStyle(CursorStyle::Hand);
		}

		m_rect.draw().drawFrame(1, 0, Palette::Black);
	}

private:

	Rect m_rect{ 0, 0, 0, 0 };
};

void Main()
{
	Scene::SetBackground(ColorF{ 0.6, 0.8, 0.7 });
	const MyButton button0{ Rect{ 100, 100, 200, 100 } };
	const MyButton button1{ Rect{ 150, 150, 200, 100 } };

	while (System::Update())
	{
		if (button0.update())
		{
			Print << U"button0";
		}

		if (button1.update())
		{
			Print << U"button1";
		}

		button1.draw();
		button0.draw();
	}
}
34.6 ボタンが押されていた時間を調べる
Input の .pressedDuration() は、その入力が押され続けている時間を Duration 型の値で返します。
押され続けている時間は .up() が true になるフレームまで有効です。.up() されたときに .pressedDuration() を調べると、そのボタンが離されるまで何秒間押され続けていたかを取得できます。
# include <Siv3D.hpp>

void Main()
{
    while (System::Update())
    {
        ClearPrint();
        Print << MouseL.pressedDuration();
		Print << MouseM.pressedDuration();
		Print << MouseR.pressedDuration();
    }
}
34.7 ダブルクリックを判定する
次のようなクラスを作成して、ダブルクリックを判定することができます。
# include <Siv3D.hpp>

class DoubleClick
{
public:

	void update()
	{
		if (m_step == 3)
		{
			m_step = 0;
		}

		if (MouseL.down())
		{
			if (m_step == 0)
			{
				m_step = 1;
			}
			else if (m_step == 2)
			{
				if (const uint64 d = (Time::GetMillisec() - m_previousTimeMillisec);
					d < DoubleClickThresholdMillisec)
				{
					m_step = 3;
				}
				else
				{
					m_step = 1;
				}
			}
		}

		if (m_step == 0)
		{
			return;
		}

		if (not Cursor::Delta().isZero())
		{
			m_step = 0;
		}

		if ((m_step == 1) && MouseL.up())
		{
			if (MouseL.pressedDuration() < Milliseconds{ MaxClickTimeMillisec })
			{
				m_step = 2;
				m_previousTimeMillisec = Time::GetMillisec();
			}
			else
			{
				m_step = 0;
			}
		}
	}

	[[nodiscard]]
	bool doubleClicked() const noexcept
	{
		return (m_step == 3);
	}

private:

	// 1 回目のクリックの長さ(ミリ秒)
	static constexpr int32 MaxClickTimeMillisec = 500;

	// 1 回目のクリックと 2 回目のクリックの最大間隔(ミリ秒)
	static constexpr int32 DoubleClickThresholdMillisec = 500;

	int32 m_step = 0;

	int64 m_previousTimeMillisec = 0;
};

void Main()
{
	DoubleClick dc;

	while (System::Update())
	{
		// 毎フレーム 1 回必ず呼ぶ
		dc.update();

		// ダブルクリックされたら
		if (dc.doubleClicked())
		{
			Print << U"double click";
		}
	}
}
34.8 すべてのマウスボタン入力を取得する
Mouse::GetAllInputs() は、.down(), .pressed(), .up() のいずれかが true になっている、アクティブなマウスボタンの一覧を Array<Input> で返します。
# include <Siv3D.hpp>

void Main()
{
	while (System::Update())
	{
		ClearPrint();

		// down() / pressed() / up() のいずれかが true になっているマウスボタン一覧を取得
		const Array<Input> buttons = Mouse::GetAllInputs();

		for (const auto& button : buttons)
		{
			Print << button.name() << (button.pressed() ? U" pressed" : U" up");
		}
	}
}
34.9 マウスホイールの回転量を取得する
直前のフレームからのマウスホイールのスクロール量は、Mouse::Wheel() によって double 型で取得できます。水平ホイールのスクロール量は、Mouse::WheelH() によって double 型で取得できます。
マウスホイールのスクロール量はフレームレートに依存しないため、Scene::Delta() で調整する必要はありません。
# include <Siv3D.hpp>

void Main()
{
	Vec2 pos = Scene::Center();

	while (System::Update())
	{
		ClearPrint();

		// マウスホイールのスクロール量
		Print << Mouse::Wheel();

		// マウスの水平ホイールのスクロール量
		Print << Mouse::WheelH();

		pos.y -= (Mouse::Wheel() * 10);
		pos.x += (Mouse::WheelH() * 10);

		RectF{ Arg::center = pos, 200 }.draw();
	}
}
34.10 マウスカーソルがクライアント領域上にあるかを調べる
Cursor::OnClientRect() は、マウスカーソルがウィンドウのクライアント領域上にある場合 true を、それ以外の場合は false を返します。
# include <Siv3D.hpp>

void Main()
{
	while (System::Update())
	{
		ClearPrint();

		// マウスカーソルがウィンドウのクライアント領域上にあるかを表示
		Print << Cursor::OnClientRect();

		if (Cursor::OnClientRect())
		{
			Scene::SetBackground(ColorF{ 0.4 });
		}
		else
		{
			Scene::SetBackground(ColorF{ 0.2 });
		}
	}
}
34.11 マウスカーソルを指定した位置に移動させる
Cursor::SetPos() を使うと、指定した位置にマウスカーソルを移動できます。
# include <Siv3D.hpp>

void Main()
{
	while (System::Update())
	{
		ClearPrint();
		Print << Cursor::Pos();

		if (SimpleGUI::Button(U"center", Vec2{ 100, 20 }))
		{
			// マウスカーソルをシーンの中心に移動させる
			Cursor::SetPos(Scene::Center());
		}
	}
}
34.12 マウスカーソルの移動を制限する (Windows 版)
Windows 版では、Cursor::ClipToWindow(true) を呼ぶとマウスカーソルが移動できる領域をウィンドウのクライアント領域上に制限できます。制限を解除するには Cursor::ClipToWindow(false) を呼びます。
# include <Siv3D.hpp>

void Main()
{
	bool clip = false;

	while (System::Update())
	{
		ClearPrint();
		Print << Cursor::Pos();

		if (SimpleGUI::CheckBox(clip, U"clip", Vec2{ 100, 20 }))
		{
			if (clip)
			{
				// マウスカーソルの移動をウィンドウのクライアント領域上に制限
				Cursor::ClipToWindow(true);
			}
			else
			{
				// 制限を解除
				Cursor::ClipToWindow(false);
			}
		}
	}
}
34.13 マウスカーソルのスタイルを変更する(標準スタイル)
Cursor::RequestStyle(style) によって、そのフレームにおけるマウスカーソルのスタイルを変更できます。style には下記の CursorStyle のいずれかを指定します。
| CursorStyle | 説明 |
|---|---|
| CursorStyle::Arrow | 矢印(デフォルト) |
| CursorStyle::IBeam | I マーク |
| CursorStyle::Cross | 十字のマーク |
| CursorStyle::Hand | 手のアイコン |
| CursorStyle::NotAllowed | 禁止のマーク |
| CursorStyle::ResizeUpDown | 上下のリサイズ |
| CursorStyle::ResizeLeftRight | 左右のリサイズ |
| CursorStyle::ResizeNWSE | 左上 - 右下のリサイズ |
| CursorStyle::ResizeNESW | 右上 - 左下のリサイズ |
| CursorStyle::ResizeAll | 上下左右方向のリサイズ |
| CursorStyle::Hidden | 非表示 |
| CursorStyle::Default | Arrow と同じ |
Cursor::RequestStyle() はそのフレームのみの変更であり、次のフレームでは元のスタイルに戻ります。マウスカーソルのスタイルを継続的に変更したい場合は、毎フレーム Cursor::RequestStyle() を呼ぶ必要があります。
# include <Siv3D.hpp>

void Main()
{
	Scene::SetBackground(Palette::White);

	const ColorF buttonColor{ 0.2, 0.6, 1.0 };
	const Circle button{ 400, 300, 60 };
	Transition press{ 0.05s, 0.05s };

	while (System::Update())
	{
		const bool mouseOver = button.mouseOver();

		// 円の上にマウスカーソルがあれば
		if (mouseOver)
		{
			// マウスカーソルを手の形にする
			Cursor::RequestStyle(CursorStyle::Hand);
		}

		press.update(button.leftPressed());

		const double t = press.value();

		button.movedBy(Vec2{ 0, 0 }.lerp(Vec2{ 0, 4 }, t))
			.drawShadow(Vec2{ 0, 6 }.lerp(Vec2{ 0, 1 }, t), (12 - t * 7), (5 - t * 4))
			.draw(buttonColor);
	}
}
34.14 マウスカーソルのスタイルを変更する(カスタム画像)
Image クラス(チュートリアル 53. 参照)で作成した任意の画像をマウスカーソルとして使うことができます。Cursor::RegisterCustomCursorStyle(name, image, hotSpot) で、画像を name という名前で登録します。hotSpot には、画像中のクリック位置を指定します。登録した画像は Cursor::RequestStyle(name) で指定できます。名前が異なれば複数のカスタムカーソルを登録できます。
# include <Siv3D.hpp>

Image CreateCursorImage()
{
	Image image{ 32, 32, Palette::White };

	for (int32 y = 0; y < image.height(); ++y)
	{
		for (int32 x = 0; x < image.width(); ++x)
		{
			image[y][x] = ColorF{ (x / 31.0), (y / 31.0), 1.0 };
		}
	}

	return image;
}

void Main()
{
	Scene::SetBackground(ColorF{ 0.6, 0.8, 0.7 });

	// カスタムカーソルを登録する。画像中の (0, 0) がクリック位置
	Cursor::RegisterCustomCursorStyle(U"MyCursor", CreateCursorImage(), Point{ 0, 0 });

	const Circle circle{ 400, 300, 100 };

	while (System::Update())
	{
		Cursor::RequestStyle(U"MyCursor");

		circle.draw(circle.mouseOver() ? Palette::Orange : Palette::White);
	}
}